How-To Guides
How to Choose a Gaming Monitor: Key Features to Look for in 2025
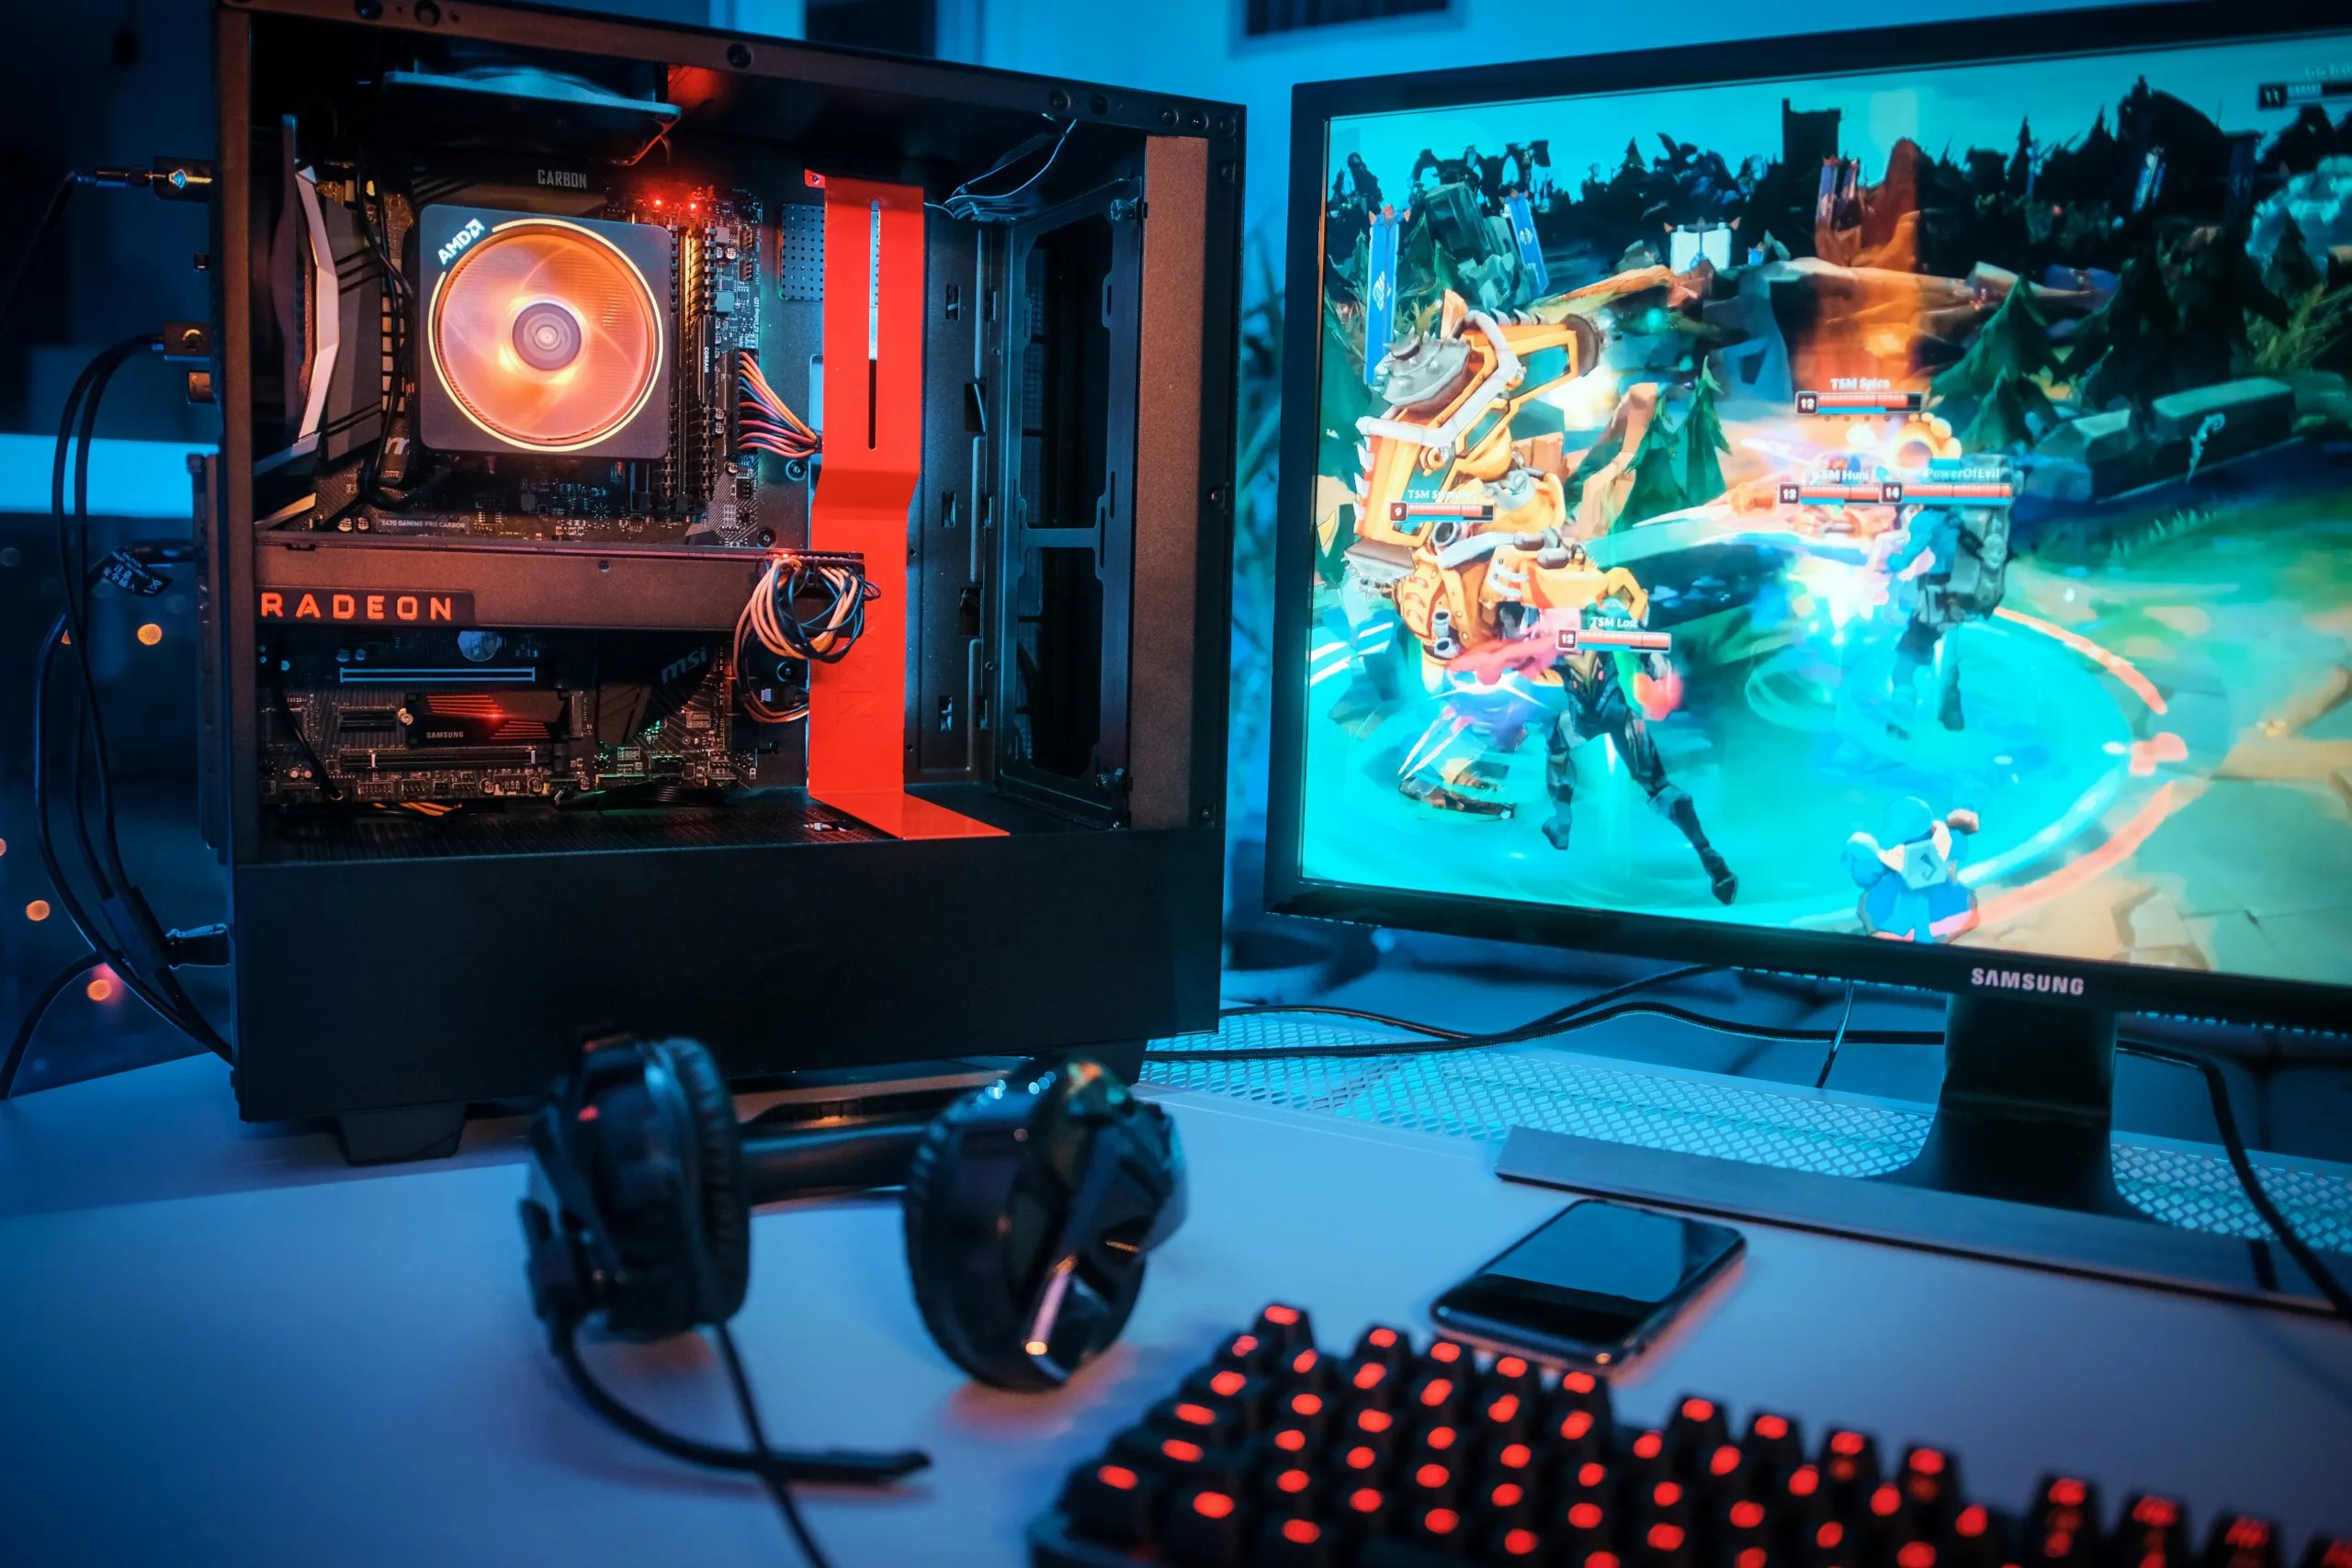
When it comes to gaming, your monitor isn’t just another piece of hardware—it’s a game-changer. The right monitor can drastically improve your visuals, reaction times, and overall gaming experience. As games get more graphically demanding, having a screen that can keep up is essential. That’s why, in 2024, monitors are packed with features like stunning 4K resolution, lightning-fast refresh rates, and adaptive sync technologies (think FreeSync and G-Sync) to eliminate screen tearing.
Why does this matter? Imagine playing your favorite FPS game—every split-second counts. A monitor with a high refresh rate and ultra-low response time gives you that competitive edge to react faster than your opponents. Meanwhile, features like HDR and wide color gamuts ensure that every scene looks rich and vibrant, pulling you deeper into the game world.
In this guide, we’ll break down the must-have features of gaming monitors in 2025. Plus, we’ll spotlight some of the best picks from top brands like Samsung, Alienware, BenQ, GIGABYTE, and Dell. These monitors are designed to take your gaming to the next level, whether you’re chasing victory in esports or exploring the latest AAA titles.
Let’s dive in and find the perfect gaming monitor to transform your setup! 🎮💥
Resolution: 1080p, 1440p, or 4K – Which One Fits Your Needs?
When it comes to gaming monitors, resolution is one of the most crucial factors to consider. The resolution of your monitor directly impacts the clarity of your visuals and can also influence your system’s performance. Let’s break down the options and help you decide which one suits your gaming style.
Full HD (1080p): The tried-and-true classic, 1080p is perfect if you’re on a budget or if your gaming setup focuses on maximizing frame rates for competitive titles like CS
or Valorant. However, as games get more graphically demanding, many gamers are upgrading to higher resolutions for a more immersive experience.
Quad HD (1440p): Often considered the sweet spot, 1440p (or 2K) delivers a significant boost in sharpness over 1080p without putting as much strain on your hardware as 4K. For fast-paced shooters or action-packed games where response time matters, this resolution strikes the perfect balance between performance and visuals. Monitors like the Alienware AW2723DF, with its insane 280Hz refresh rate, or the GIGABYTE Aorus Fi27Q with a silky-smooth 165Hz, are top picks for competitive gamers who want a blend of speed and clarity.
4K (3840 x 2160): If you’re all about breathtaking visuals and immersive gameplay, 4K is where it’s at. This resolution is perfect for RPGs, open-world adventures, or even creative tasks like video editing and graphic design. The detail is unmatched, but you’ll need powerful hardware to run modern games at this resolution smoothly. For a truly next-level experience, consider the Samsung Odyssey Neo G8, BenQ EW3280U, or Dell U3223QE. These monitors not only offer stunning 4K clarity but also feature HDR capabilities for vibrant colors and deeper contrasts.
So, which resolution should you go for?
- 1080p: Best for budget gamers or esports enthusiasts who prioritize frame rates over resolution.
- 1440p: Ideal for gamers who want a mix of sharp visuals and high frame rates, especially for fast-paced shooters.
- 4K: Perfect for those who crave immersive, visually stunning experiences or use their monitor for creative work alongside gaming.
Ultimately, your choice depends on your gaming needs and your system’s capabilities. But if you’ve got a powerful rig and are looking to future-proof your setup, 1440p or 4K is definitely the way to go!
Refresh Rate: How Fast Should Your Monitor Be?
When it comes to gaming monitors, refresh rate is a game-changer—literally! It refers to how many times per second your monitor refreshes the image on the screen, measured in Hertz (Hz). A higher refresh rate means smoother gameplay, making it crucial for fast-paced games like first-person shooters (FPS) and esports titles where split-second reactions can make all the difference.
Why does refresh rate matter?
Imagine you’re in an intense firefight in a competitive game. A monitor with a high refresh rate ensures that you see your enemies’ movements as they happen, reducing input lag and giving you a crucial edge over your opponents. The standard 60Hz monitor might be fine for casual gaming, but if you’re serious about your performance, upgrading to a higher refresh rate is a must.
240Hz – 280Hz: The Competitive Gamer’s Dream
If you’re an esports enthusiast or play competitive shooters like Apex Legends or Call of Duty, a high refresh rate is non-negotiable. The Samsung Odyssey Neo G8 combines a jaw-dropping 4K resolution with a blazing 240Hz refresh rate. It’s perfect for gamers who want both top-tier visuals and ultra-smooth gameplay.
On the other hand, the Alienware AW2723DF pushes it even further with an incredible 280Hz refresh rate (overclocked via DisplayPort). This monitor is a dream for competitive players, delivering ultra-responsive performance that’s perfect for games where every millisecond counts.
165Hz: The Sweet Spot for Most Gamers
If you want smoother gameplay without breaking the bank, a 165Hz monitor is a solid mid-range option. The GIGABYTE Aorus Fi27Q is a fantastic pick, offering a balanced mix of performance and price. It’s ideal for gamers who enjoy a variety of genres, from action RPGs to online shooters, where smooth motion is important but ultra-high refresh rates aren’t critical.
Which refresh rate is right for you?
- 60Hz – 144Hz: Good for casual gamers or story-driven games that focus more on visuals than speed.
- 165Hz: A great all-rounder for those who want smoother gameplay but don’t necessarily need the fastest refresh rates.
- 240Hz – 280Hz: The gold standard for competitive gamers who play fast-paced shooters and want every advantage possible.
In the end, choosing the right refresh rate comes down to the type of games you play and how much you value that buttery-smooth motion. For competitive gaming, aim high; for everything else, a mid-range option like 165Hz could be the sweet spot.
Panel Type: IPS, VA, or Mini-LED – Which One is Better?
When choosing a gaming monitor, the type of panel it uses is crucial because it affects everything from color accuracy to response times. Let’s break down the most popular panel types to help you figure out which one best suits your gaming and creative needs.
VA Panels: Deep Blacks and High Contrast
If you love playing immersive RPGs or watching movies on your monitor, VA (Vertical Alignment) panels are worth considering. They excel in delivering deep blacks and high contrast ratios, making dark scenes more detailed and engaging. A great example is the Samsung Odyssey Neo G8, which uses a VA panel combined with Mini-LED technology for stunning contrasts and vibrant colors. This makes it perfect for those looking to experience games like Cyberpunk 2077 or Red Dead Redemption 2 in their full visual glory.
- Best for: Immersive, story-driven games, dark scenes, and vibrant visuals.
IPS Panels: Superior Color Accuracy and Viewing Angles
If color accuracy and wide viewing angles are your priority—especially if you also use your monitor for creative tasks like photo editing or content creation—IPS (In-Plane Switching) panels are your best bet. They provide excellent color reproduction, ensuring that what you see on your screen is true to life. The BenQ EW3280U and Dell Ultrasharp U3223QE are standout choices here, with the latter featuring Dell’s advanced IPS Black Technology for deeper blacks while maintaining IPS-level color accuracy.
- Best for: Creative work, content creation, and vibrant, color-rich games.
Fast IPS: The Best of Both Worlds for Competitive Play
For competitive gamers who want a blend of color accuracy and speed, Fast IPS panels are a game-changer. They offer the fast response times typically found in TN panels but without sacrificing the rich colors and viewing angles of traditional IPS. The Alienware AW2723DF is a prime example, designed with Fast IPS technology to minimize latency while providing vivid colors. This makes it ideal for fast-paced games where both visual clarity and quick reflexes are crucial.
- Best for: Esports, fast-paced shooters, and competitive gaming where speed and color accuracy are key.
So, Which Panel Type Should You Choose?
- VA Panel (Samsung Odyssey Neo G8): Ideal if you prioritize deep blacks, contrast, and immersive visuals.
- IPS Panel (Dell Ultrasharp U3223QE, BenQ EW3280U): Best for gamers who also dabble in creative work, thanks to superior color accuracy and wide viewing angles.
- Fast IPS (Alienware AW2723DF): Perfect for competitive gamers who need both speed and great color reproduction.
Choosing the right panel depends on your gaming style and other uses, whether that’s vibrant colors, deep blacks, or a balance of speed and accuracy. Make the right choice, and you’ll notice a huge difference in your gaming and creative experiences!
Adaptive Sync: G-Sync vs. FreeSync – Do You Need It?
Ever noticed annoying screen tearing or stuttering when you’re in the middle of an intense gaming session? That’s where adaptive sync technologies like NVIDIA G-Sync and AMD FreeSync come into play. These technologies are designed to synchronize your monitor’s refresh rate with your GPU’s frame rate, ensuring buttery-smooth gameplay without any visual disruptions.
Why Adaptive Sync Matters
Imagine you’re playing a high-speed racing game or a fast-paced FPS. Without adaptive sync, your monitor might struggle to keep up with the rapid changes in frame rates, leading to screen tearing—a jarring visual artifact that breaks immersion. Adaptive sync fixes this by dynamically adjusting the monitor’s refresh rate to match your GPU output, resulting in a seamless, stutter-free experience.
G-Sync vs. FreeSync: What’s the Difference?
- G-Sync is NVIDIA’s proprietary adaptive sync technology, known for its premium performance and reliability. It works best with NVIDIA GPUs but often comes at a higher price point.
- FreeSync, on the other hand, is AMD’s solution, offering similar benefits but with a wider range of compatible monitors and often at a more budget-friendly price. FreeSync Premium and FreeSync Premium Pro versions add extra features like low frame rate compensation (LFC) and HDR support for more vivid visuals.
Which Monitors to Choose?
- GIGABYTE Aorus Fi27Q and Alienware AW2723DF are G-Sync Compatible and FreeSync Premium certified. These monitors are perfect if you switch between NVIDIA and AMD graphics cards or want flexibility in the future. The Alienware AW2723DF stands out for competitive gamers, offering a blazing 280Hz refresh rate, ensuring no lag or tearing during intense gameplay.
- For AMD users seeking the highest visual fidelity, the Samsung Odyssey Neo G8 supports FreeSync Premium Pro. This monitor pairs beautifully with AMD GPUs, delivering smooth 4K gameplay and HDR support, making it ideal for RPGs and open-world games where vibrant graphics truly shine.
Which Adaptive Sync is Right for You?
- G-Sync: Ideal if you’re running an NVIDIA GPU and want the most reliable sync experience with minimal input lag.
- FreeSync Premium/Pro: Great for AMD GPU users or those looking for a cost-effective adaptive sync solution with added HDR capabilities.
- G-Sync Compatible & FreeSync: Best if you want flexibility and a monitor that supports both technologies, like the GIGABYTE Aorus Fi27Q or Alienware AW2723DF.
By matching your monitor’s adaptive sync technology to your GPU, you’ll experience smooth, tear-free gaming sessions that keep you in the zone, no matter how intense the action gets.
Budget Considerations: Finding Value at Different Price Points
When it comes to choosing the perfect gaming monitor, your budget plays a big role. Luckily, there are excellent options available across various price ranges, so you can find something that fits both your gaming needs and your wallet. Let’s explore what you can expect to get at different price points, with a few standout recommendations to help you make an informed decision.
1. High-End (₹79,199): Samsung Odyssey Neo G8
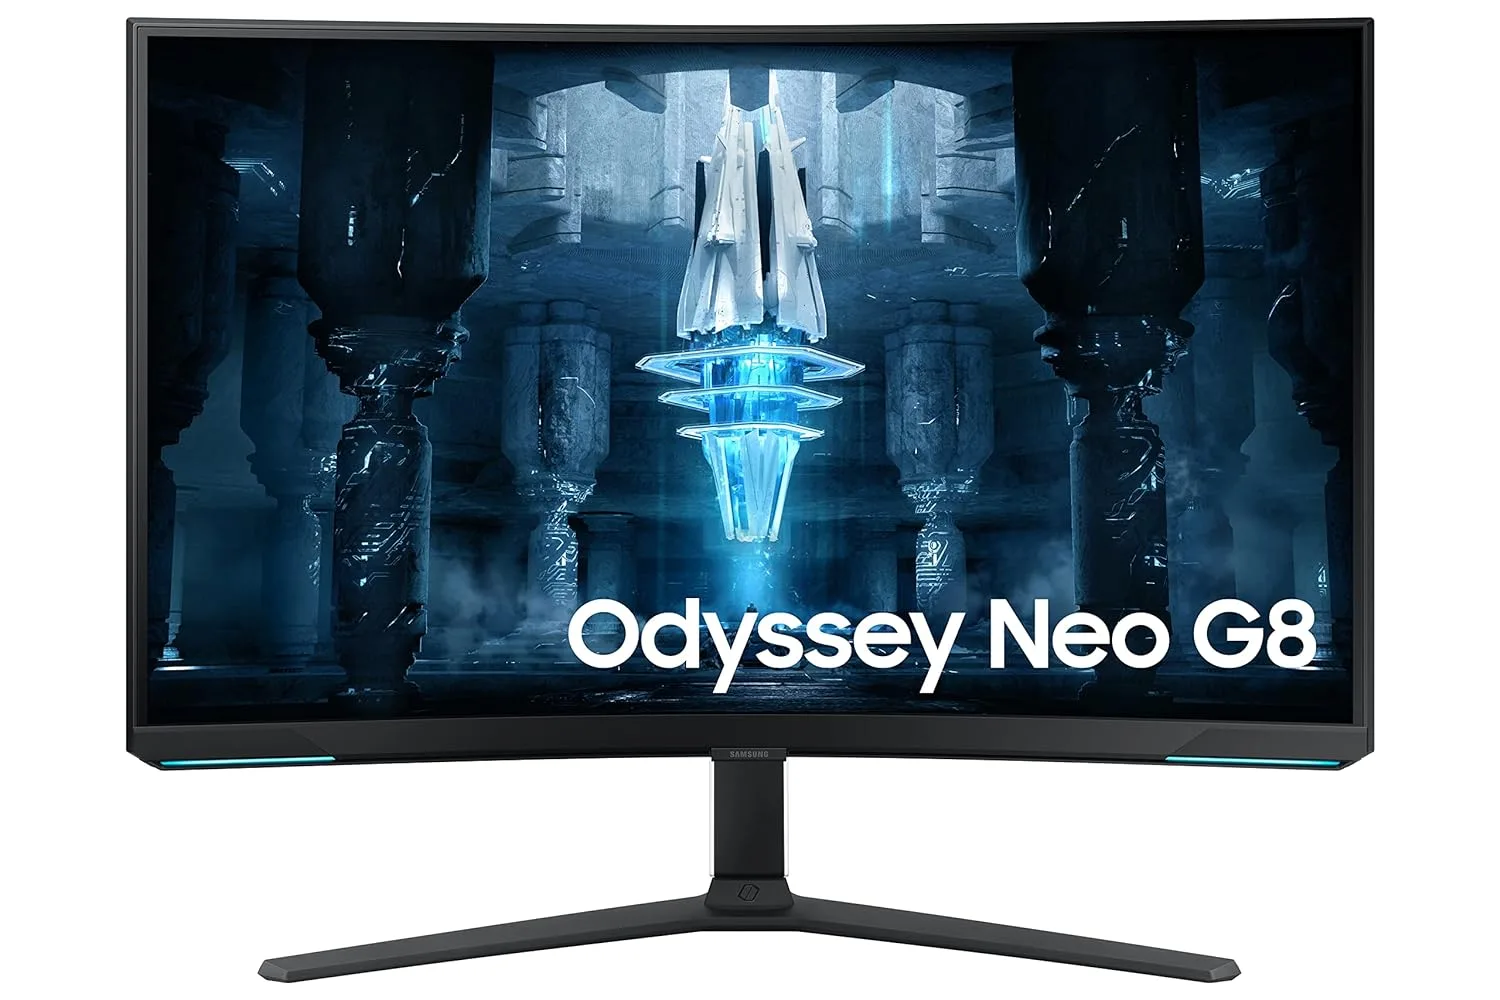
If you’re after the absolute best in terms of performance and features, the Samsung Odyssey Neo G8 is a powerhouse. With a stunning 4K resolution, 240Hz refresh rate, and Mini-LED technology, this monitor is perfect for gamers who want the ultimate immersive experience. The deep blacks and vibrant colors make it ideal for visually rich games like RPGs and open-world adventures. If you have a high-end rig and want to future-proof your setup, this is the monitor to beat.
- Best for: Hardcore gamers looking for top-tier performance and cutting-edge tech.
2. Premium (₹63,911): Dell Ultrasharp U3223QE
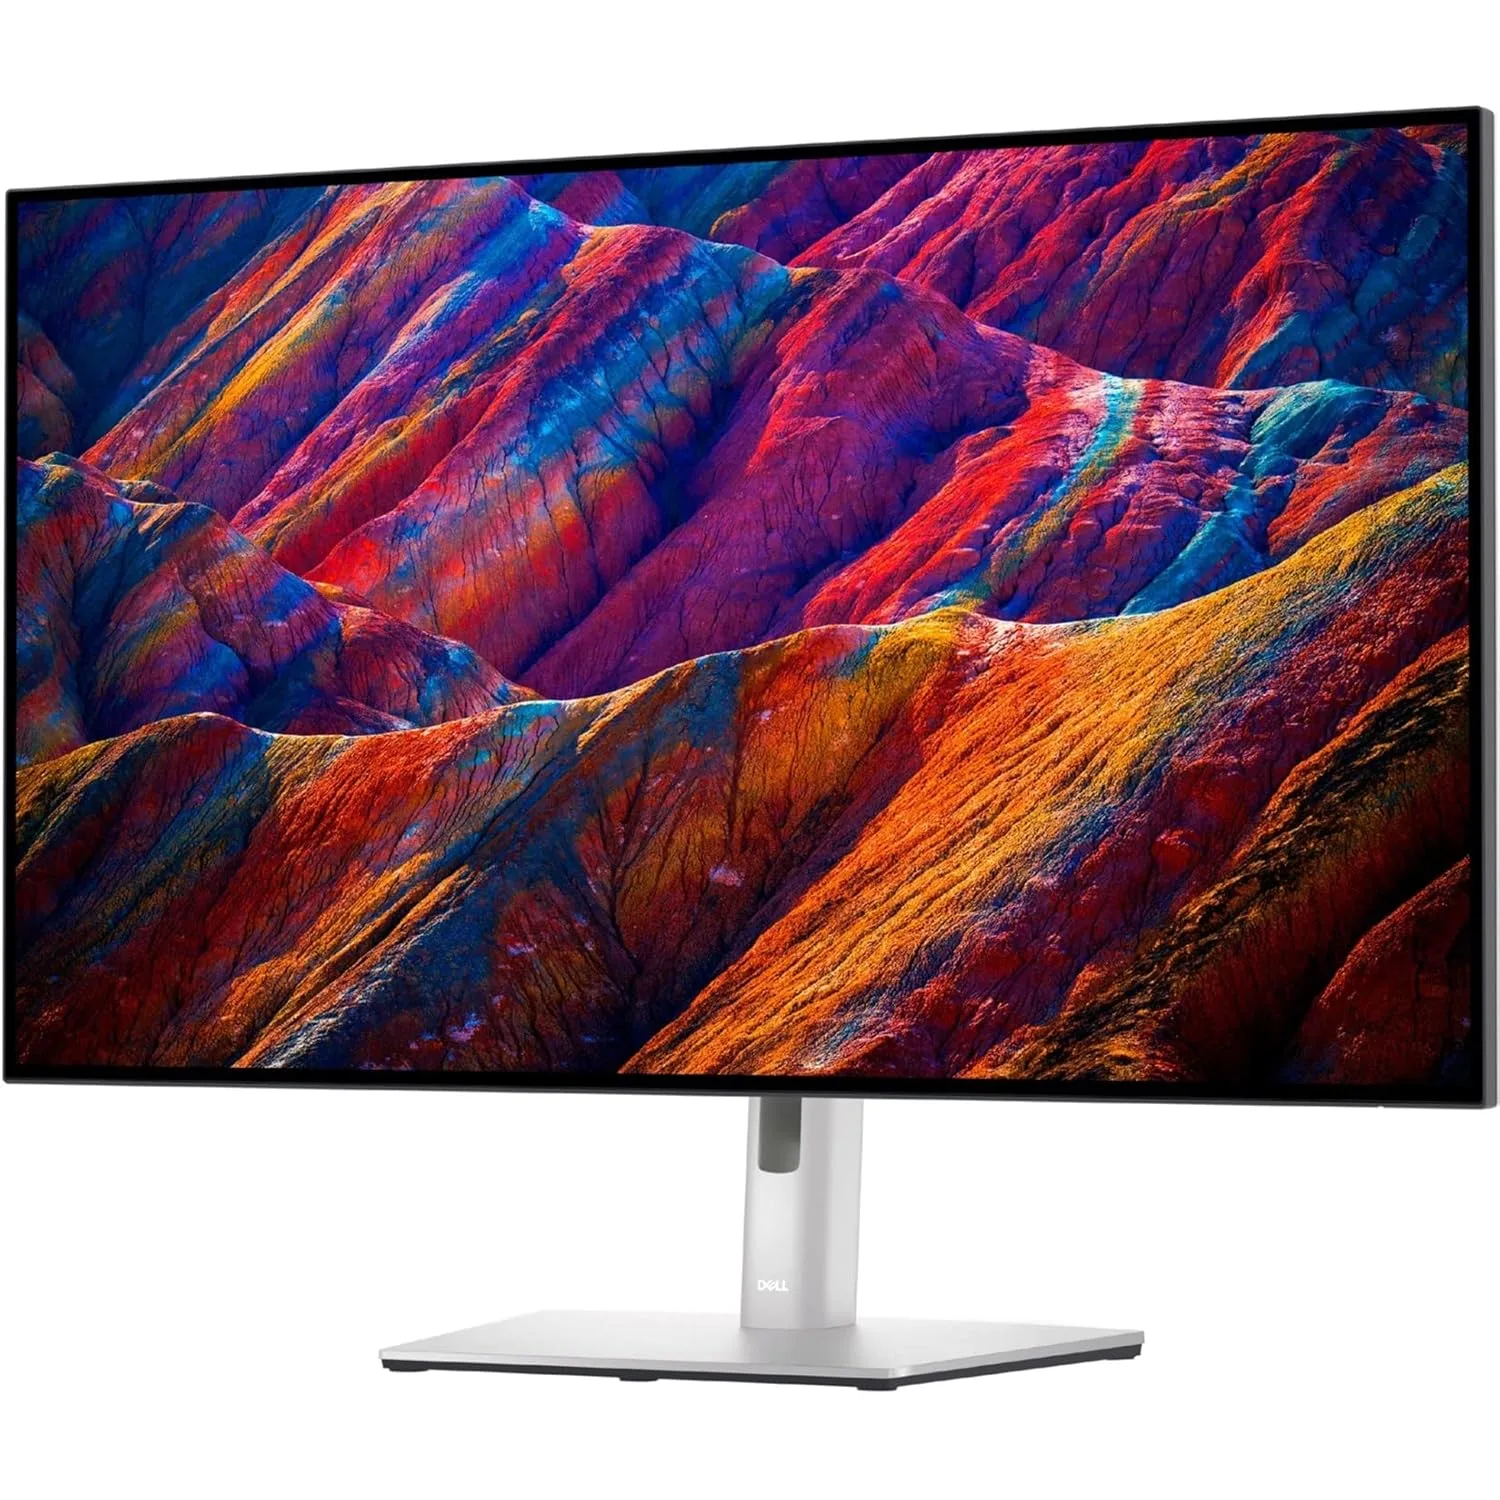
The Dell Ultrasharp U3223QE offers a premium blend of gaming and productivity features. Its 4K resolution and IPS Black Technology provide exceptional color accuracy and deeper blacks, making it great for both gaming and creative work. This monitor is ideal for gamers who also use their setup for tasks like photo editing or video content creation.
- Best for: Gamers who need a versatile monitor that excels in both work and play.
3. Mid-Range (₹58,879): Alienware AW2723DF

For those who want a high-performance monitor without completely breaking the bank, the Alienware AW2723DF offers fantastic value. With a 1440p resolution, a 280Hz refresh rate, and Fast IPS technology, this monitor is built for competitive gamers who need lightning-fast response times and vibrant colors. If you’re into esports or fast-paced shooters, this is a solid mid-range choice.
- Best for: Competitive players looking for high refresh rates and color accuracy.
4. Affordable (₹41,490): BenQ EW3280U
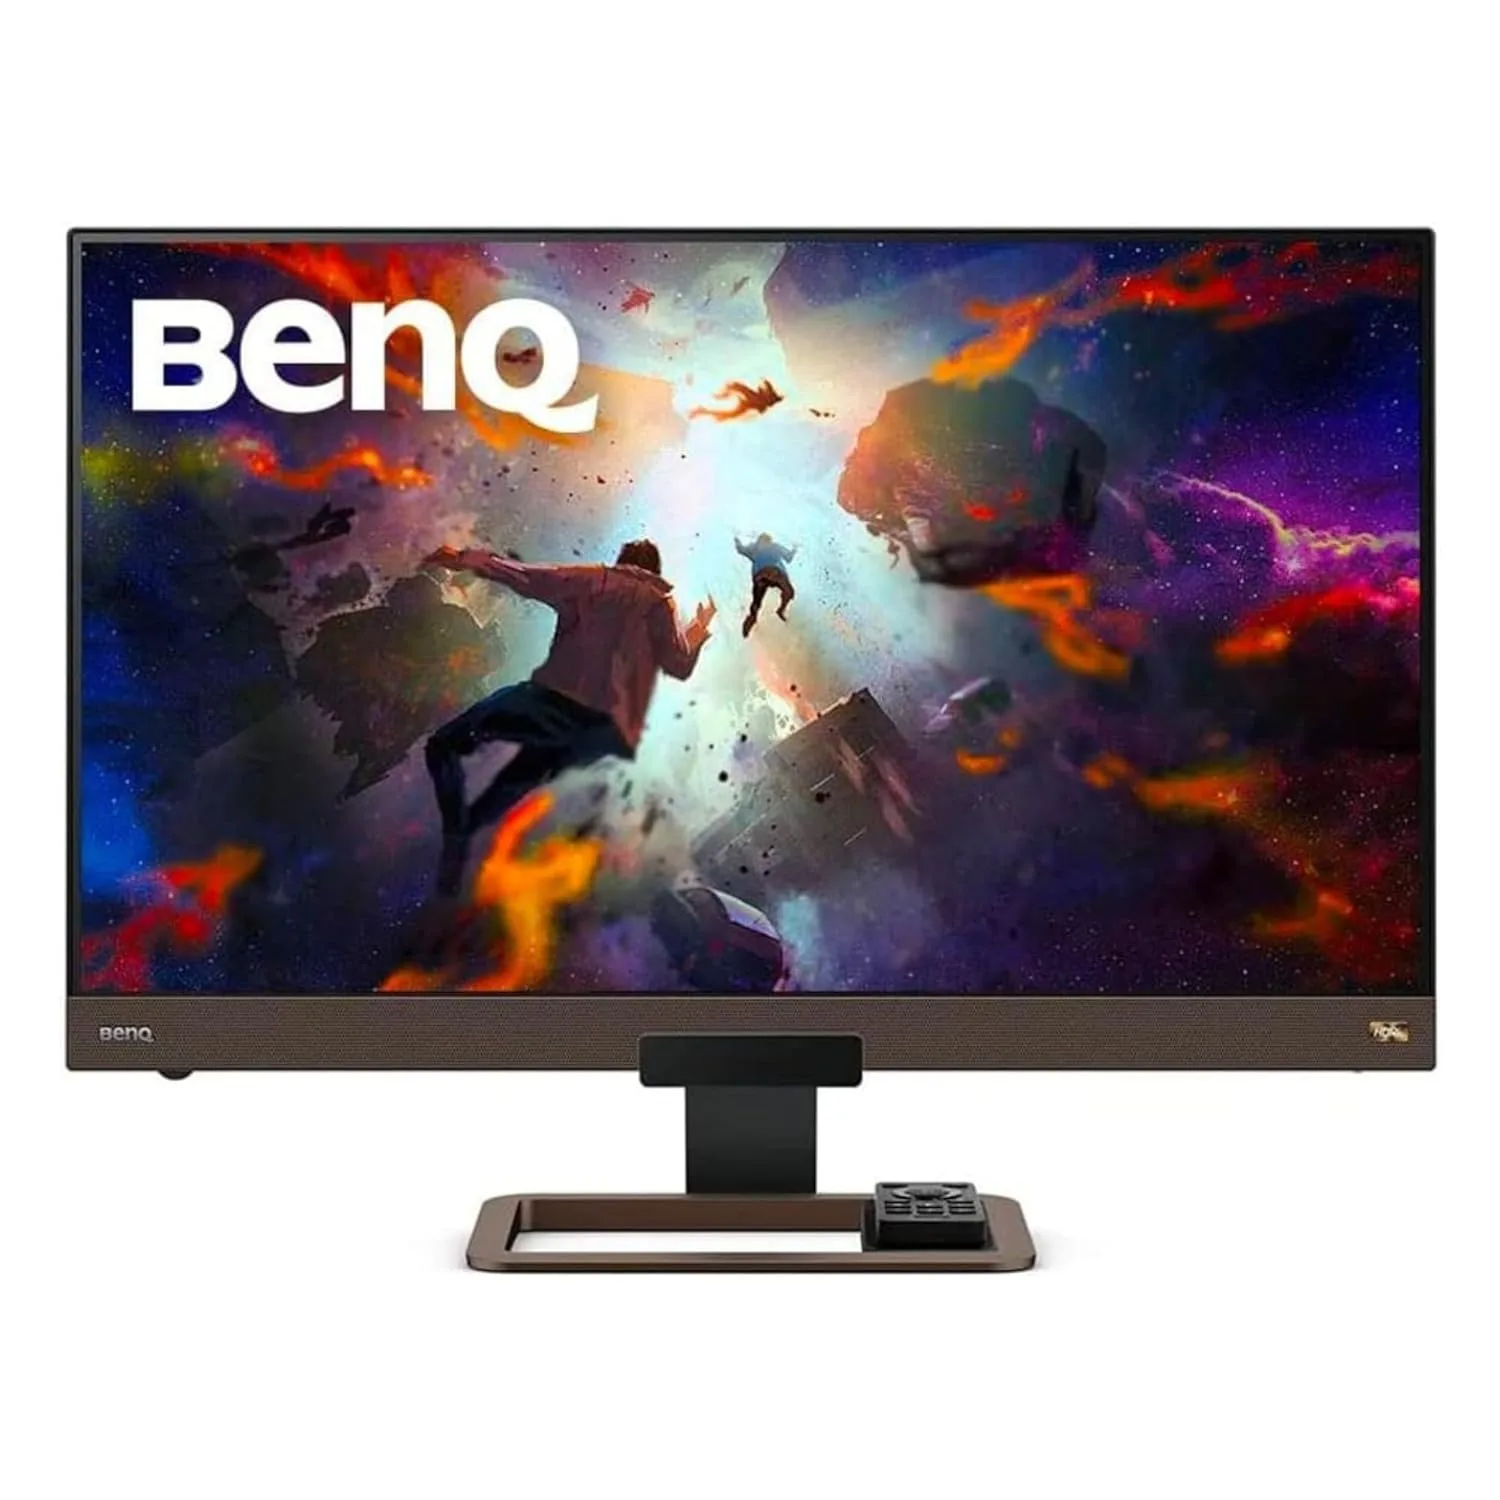
The BenQ EW3280U provides an impressive 4K resolution with HDR support at a relatively affordable price. It’s equipped with USB-C connectivity, built-in speakers, and eye-care features, making it great for gamers who also watch movies or use their monitor for multitasking. Its vibrant colors and sharp visuals make it a fantastic option for casual gamers and entertainment enthusiasts.
- Best for: Gamers on a budget who want a 4K monitor with great multimedia features.
5. Budget (₹37,588): GIGABYTE Aorus Fi27Q
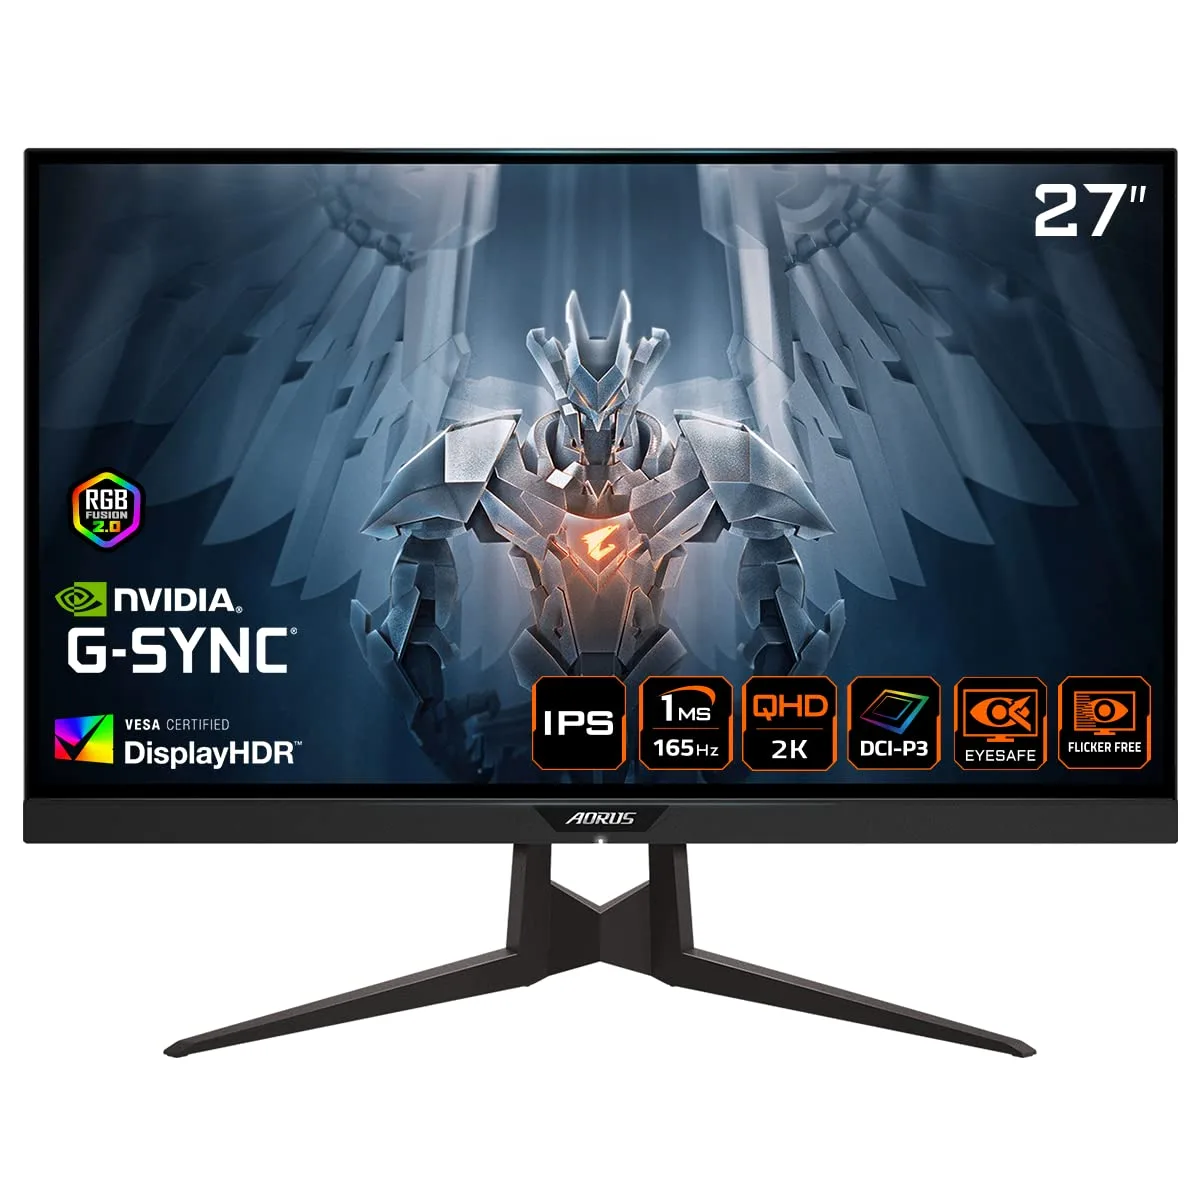
For those on a tighter budget but still wanting great performance, the GIGABYTE Aorus Fi27Q is a strong contender. It features a 1440p resolution, 165Hz refresh rate, and FreeSync/G-Sync compatibility, ensuring smooth gameplay without screen tearing. This monitor is perfect if you’re looking for a versatile option that balances performance and affordability.
- Best for: Gamers who want great performance without splurging on a high-end monitor.
Choosing the Right Monitor for Your Budget
- High-End: Go for the Samsung Odyssey Neo G8 if you want the best of the best.
- Premium: The Dell Ultrasharp U3223QE is perfect for both gaming and creative work.
- Mid-Range: Pick the Alienware AW2723DF if competitive gaming is your focus.
- Affordable: The BenQ EW3280U offers great value for 4K enthusiasts on a budget.
- Budget: The GIGABYTE Aorus Fi27Q is ideal if you’re looking to get the most bang for your buck.
No matter your budget, there’s a monitor out there that can enhance your gaming experience without sacrificing quality. The key is to prioritize the features that matter most to you, whether it’s ultra-high refresh rates, stunning visuals, or all-around versatility.
In A Glance: Choosing the Right Monitor for Your Budget
| Category | Monitor | Resolution | Refresh Rate | Panel Type | Adaptive Sync | Price | Best For |
| High-End | Samsung Odyssey Neo G8 | 4K (3840×2160) | 240Hz | VA + Mini-LED | FreeSync Premium Pro | ₹79,199 | Hardcore gamers, immersive visuals |
| Premium | Dell Ultrasharp U3223QE | 4K (3840×2160) | 60Hz | IPS Black Technology | None | ₹63,911 | Gaming + creative work, color accuracy |
| Mid-Range | Alienware AW2723DF | QHD (2560×1440) | 280Hz (OC) | Fast IPS | G-Sync Compatible, FreeSync | ₹58,879 | Competitive gamers, high refresh rates |
| Affordable | BenQ EW3280U | 4K (3840×2160) | 60Hz | IPS | FreeSync | ₹41,490 | Budget-friendly 4K, multimedia use |
| Budget | GIGABYTE Aorus Fi27Q | QHD (2560×1440) | 165Hz | IPS | G-Sync Compatible, FreeSync | ₹37,588 | Value-oriented, versatile gaming |
Also Read:
- Best Cheap Curved Monitors for Streaming and Watching Movies at Home
- Best Cheap Curved Monitors for Small Desks and Compact Workspaces
- Top 9 Best Monitors for Work from Home: Affordable and Efficient Choices
Conclusion: Making the Right Choice for Your Gaming Needs
Choosing the right gaming monitor can feel like a daunting task, but it all comes down to what you prioritize—whether it’s jaw-dropping visuals, lightning-fast refresh rates, or a budget-friendly option that still delivers great performance.
Here’s a quick recap to help you narrow down your choices:
- If you’re after stunning 4K visuals and immersive gameplay, go for the Samsung Odyssey Neo G8. It’s perfect for those who want top-tier performance with the latest technology.
- For a mix of gaming and creative work, the Dell Ultrasharp U3223QE offers unmatched color accuracy with its IPS Black Technology.
- If competitive gaming is your thing and you crave the highest refresh rates, the Alienware AW2723DF at 280Hz will give you that edge in fast-paced matches.
- Looking for a budget-friendly 4K monitor with rich colors and multimedia features? The BenQ EW3280U is a solid choice.
- For those who want a value-packed 1440p monitor, the GIGABYTE Aorus Fi27Q balances price and performance beautifully.
Final Tips:
- Assess your gaming style: Are you into fast-paced shooters or immersive story-driven games? This will influence your need for refresh rates and resolution.
- Consider your budget: Don’t overspend on features you won’t fully utilize. Find the monitor that fits both your needs and your wallet.
Now that you’re armed with all the insights, it’s time to make your choice! 🛒 Don’t wait too long—stock runs out quickly, especially during sale seasons. Click the links above to secure your new gaming monitor before the best deals disappear. Happy gaming! 🎮

Shopping for a laptop on a budget doesn’t mean settling for less. With advancements in tech, today’s budget-friendly laptops deliver solid performance, sleek designs, and impressive features—all while staying affordable. Whether you’re tackling assignments, attending virtual meetings, or streaming your favorite shows, there’s a laptop under $300 that’s up to the task.
In this guide, I’ll spotlight four standout laptops that prove affordability and quality can go hand in hand. These picks are perfect for students, professionals, and everyday users alike. Let’s find the right one for you!
Top 4 Budget Laptops of 2024 Under $300
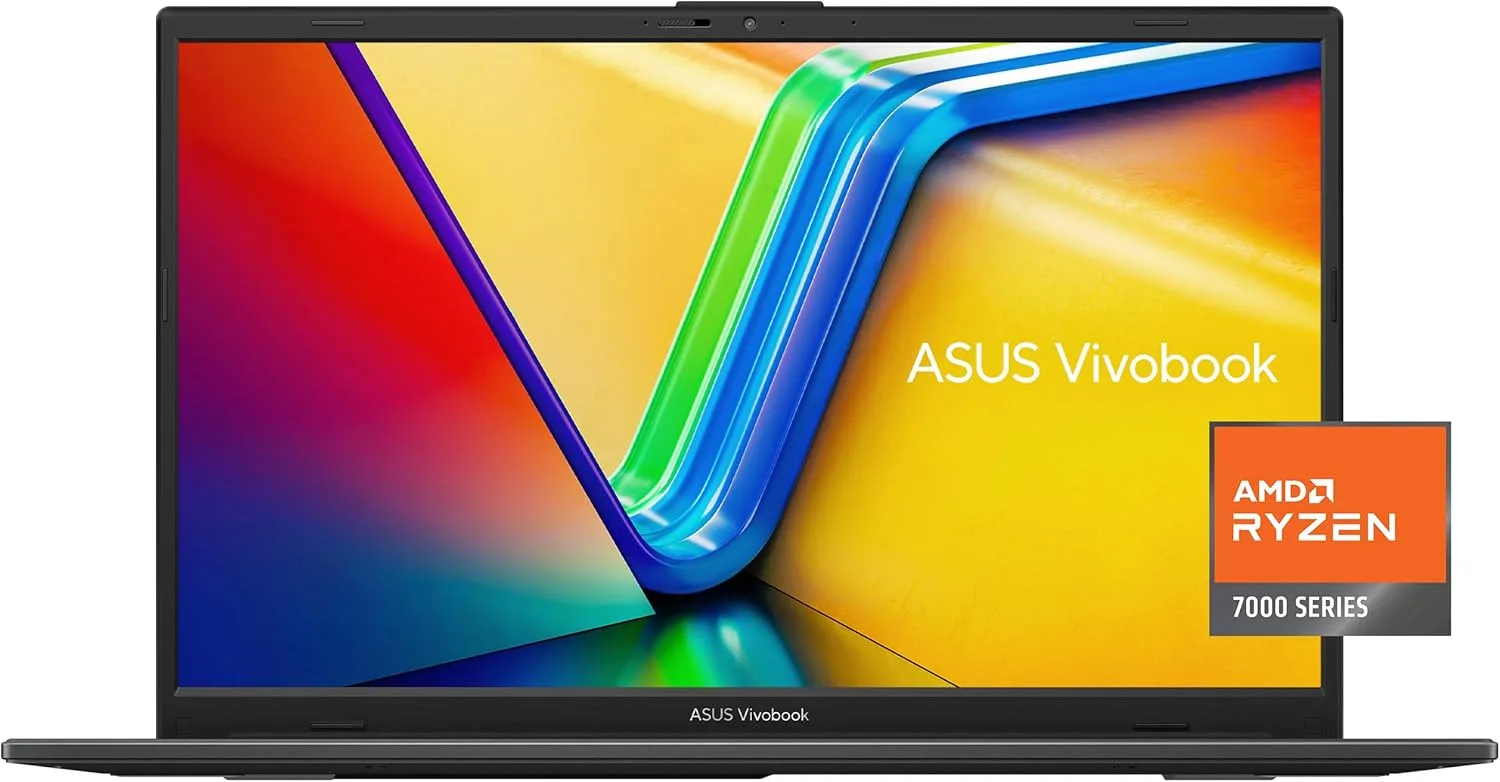
ASUS Vivobook Go 15.6” FHD Slim Laptop
If you’re looking for a laptop that combines performance with portability, the ASUS Vivobook Go is an excellent choice. Priced at just $275, this sleek device is perfect for students or anyone needing a dependable laptop for everyday tasks. Its minimalist design, fast charging, and privacy features make it stand out in the budget-friendly category.
Key Features
- Processor: AMD Ryzen 3 7320U (Quad-Core, up to 4.1 GHz)
- Memory & Storage: 8GB DDR5 RAM and 128GB SSD
- Display: 15.6” Full HD NanoEdge with 250-nit brightness and slim bezels
- Extras: SonicMaster audio, webcam privacy shield, 180° hinge
- Operating System: Windows 11 Home
Why It’s Great
- Performance: Powered by AMD’s Ryzen 3 processor and 8GB DDR5 RAM, the Vivobook Go handles multitasking and productivity with ease. Whether it’s streaming, browsing, or working on documents, this laptop keeps up.
- Portability: At just over 5.6 pounds, it’s designed to be lightweight and easy to carry—ideal for on-the-go users.
- Design Features: The 15.6” Full HD NanoEdge display offers vibrant colors and sharp visuals, while the built-in webcam shield provides an added layer of privacy.
Pros
✅ Sleek, portable design for easy mobility
✅ Crisp Full HD display with narrow bezels
✅ Fast DDR5 RAM for smooth multitasking
✅ Comprehensive ports for added versatility (USB-C, HDMI, USB-A)
Cons
⛔ Limited storage space (128GB SSD might fill up quickly)
⛔ Not suitable for demanding applications or gaming
Best For
This laptop is a fantastic choice for students and casual users who need an affordable device for everyday tasks like web browsing, writing, and video streaming.
Buy Now
Ready to check out the ASUS Vivobook Go? Click here to view and buy it on Amazon.
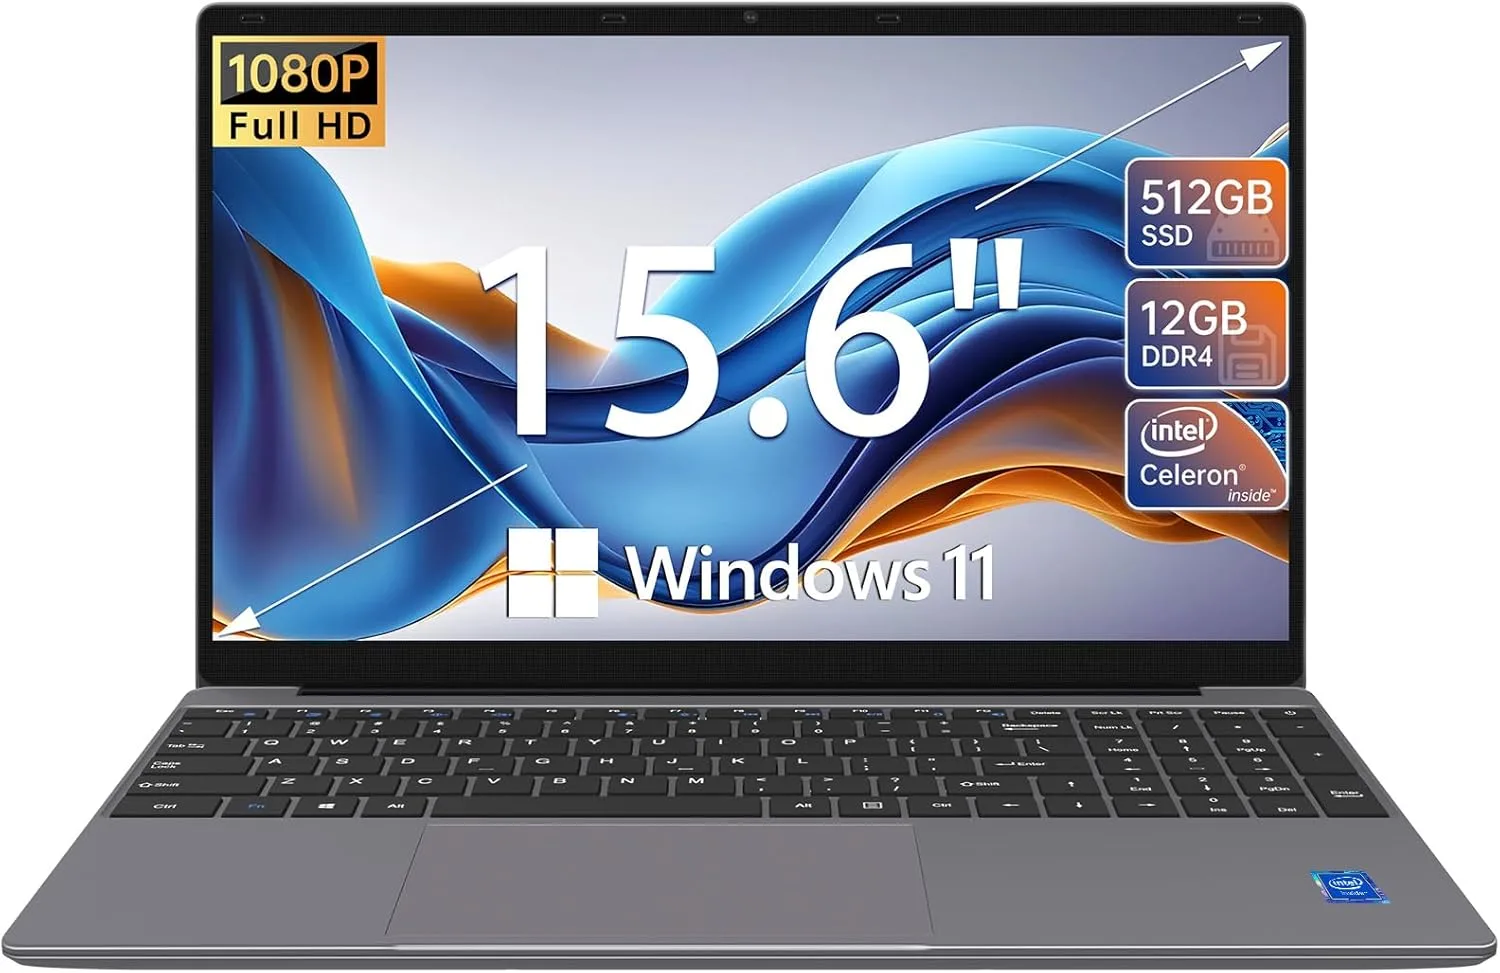
ApoloMedia 15.6” Laptop
For those who need a little extra power and storage, the ApoloMedia 15.6” Laptop is a standout pick. With 12GB of RAM and a massive 512GB SSD, it’s designed to handle multitasking and large files with ease—all while staying under the $300 price tag. Its lightweight build makes it perfect for professionals on the go. Pair it with a portable dual monitor stand for a versatile, mobile workspace.
Key Features
- Processor: Intel Jasper Lake N5095 (Quad-Core, up to 2.8 GHz)
- Memory & Storage: 12GB DDR4 RAM and 512GB SSD (expandable to 1TB)
- Display: 15.6” Full HD thin-bezel display
- Extras: Elegant stardust gray finish, lightweight design, 180° hinge
- Operating System: Windows 11 Home
Why It’s Great
- Impressive RAM and Storage: With 12GB of RAM and a 512GB SSD, this laptop offers one of the best memory and storage combinations in its class, making it great for multitasking and storing large files.
- Sleek Design: The lightweight build and elegant gray finish give it a modern, professional look that’s perfect for work or study.
- Versatile Features: The 180° hinge, ergonomic keyboard, and multiple connectivity options (USB-C, HDMI, and more) add to its usability.
Pros
✅ High RAM and storage for seamless multitasking
✅ Crisp Full HD display with reduced eye strain
✅ Lightweight and portable for easy travel
✅ Expandable storage up to 1TB
Cons
⛔ Battery life is average (around 6 hours)
⛔ Brand recognition is relatively new, which might affect long-term trust
Best For
The ApoloMedia laptop is ideal for professionals, students, and creatives who need extra storage and multitasking power without spending a fortune.
Buy Now
Want to grab the ApoloMedia 15.6” Laptop? Click here to view and buy it on Amazon.
HP 15.6” Portable Laptop
If performance is a top priority, the HP 15.6” Portable Laptop is a fantastic option under $300. With 16GB of RAM and the latest Intel Quad-Core N200 processor, this laptop offers the power to handle multitasking, data-heavy applications, and everyday productivity tasks with ease. The numeric keypad is a handy feature for those working with spreadsheets or financial data. If you’re setting up your workspace, don’t miss these tips for building a budget-friendly home office.
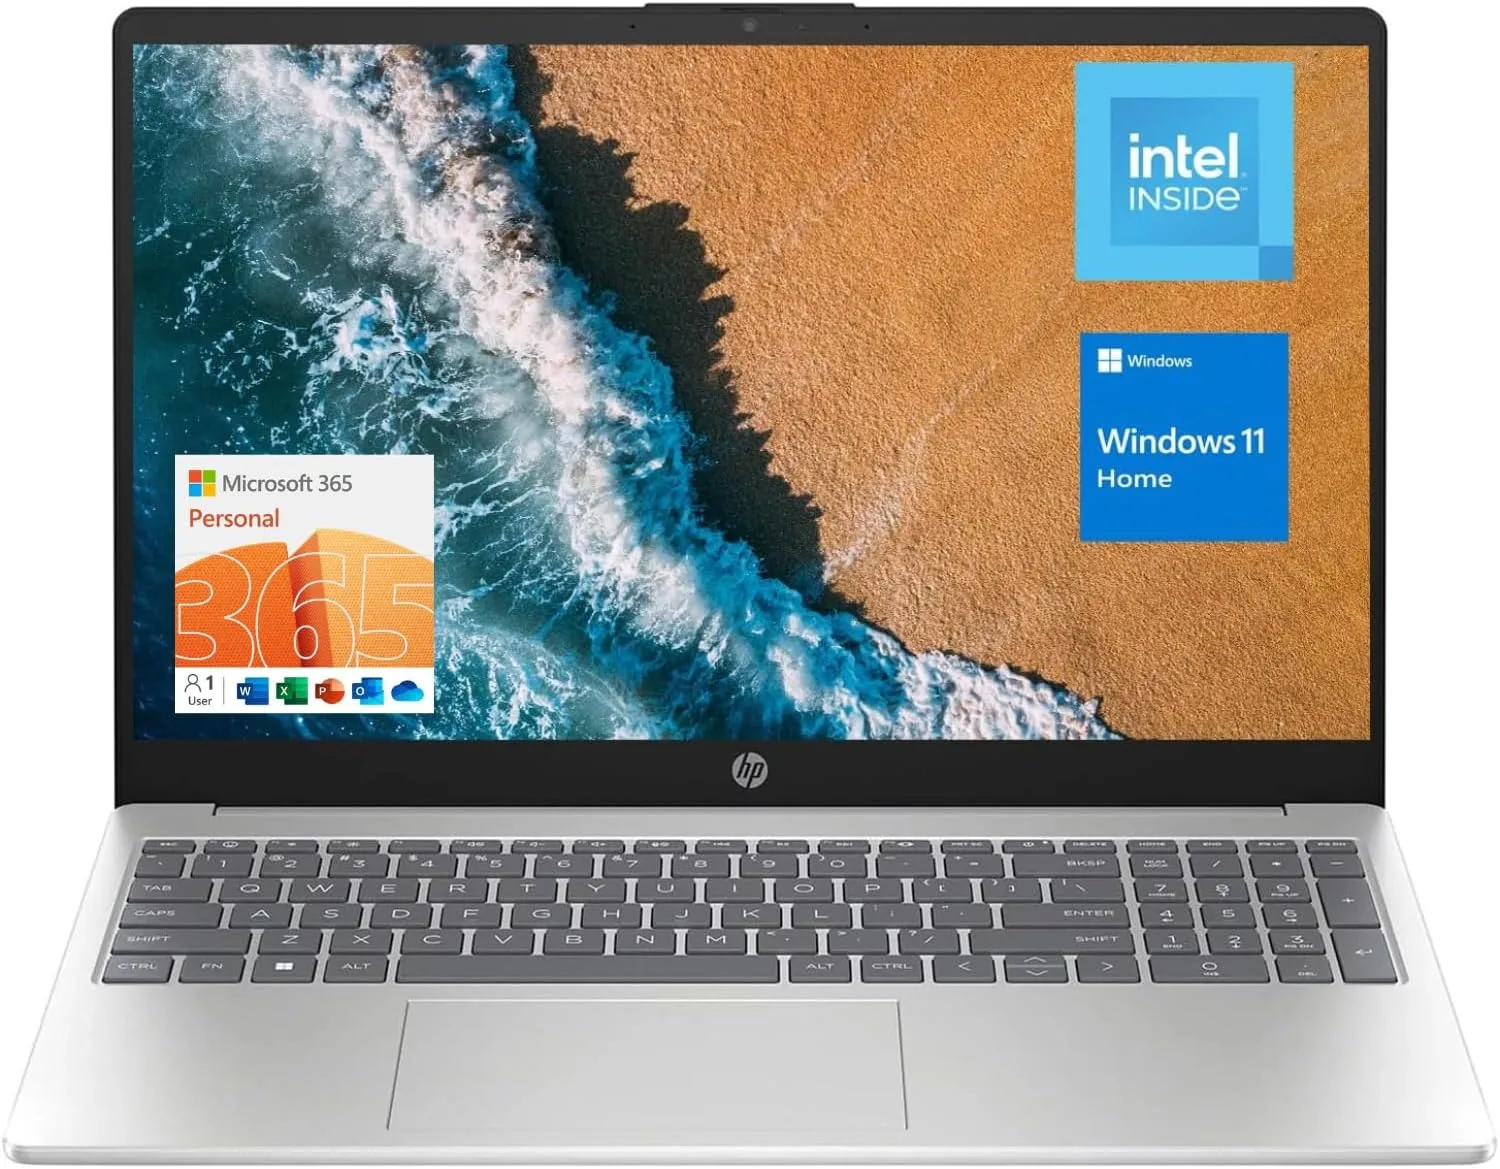
Key Features
- Processor: Intel Quad-Core N200 (up to 3.7 GHz)
- Memory & Storage: 16GB DDR4 RAM and 128GB SSD
- Display: 15.6” HD (1366 x 768) display with anti-glare technology
- Extras: Numeric keypad, webcam, Wi-Fi 6 connectivity
- Operating System: Windows 11 Home
Why It’s Great
- Unmatched RAM: With 16GB of DDR4 RAM, this laptop is built to breeze through multitasking, making it ideal for data entry, heavy browsing, and video conferencing.
- Connectivity: Equipped with Wi-Fi 6 and multiple ports, including USB-A, USB-C, and HDMI, this laptop ensures seamless connectivity.
- User-Friendly Design: The full-sized numeric keypad and lightweight build add to its appeal, especially for users working with spreadsheets or data.
Pros
✅ Exceptional RAM for smooth multitasking
✅ Wi-Fi 6 for faster, more reliable internet connectivity
✅ Built-in numeric keypad for productivity
✅ Trusted HP brand for reliability
Cons
⛔ Lower screen resolution compared to other models (HD instead of Full HD)
⛔ Limited internal storage (128GB SSD)
Best For
This laptop is perfect for students and professionals who prioritize multitasking and need a reliable machine for data-heavy tasks, such as spreadsheets or financial applications.
Buy Now
Interested in the HP 15.6” Portable Laptop? Click here to view and buy it on Amazon.
Acer Aspire 3 A315-24P-R7VH Slim Laptop
The Acer Aspire 3 is a reliable all-rounder that balances performance, portability, and affordability. Its AMD Ryzen 3 processor and Full HD IPS display make it a great choice for everyday tasks, streaming, and light productivity.
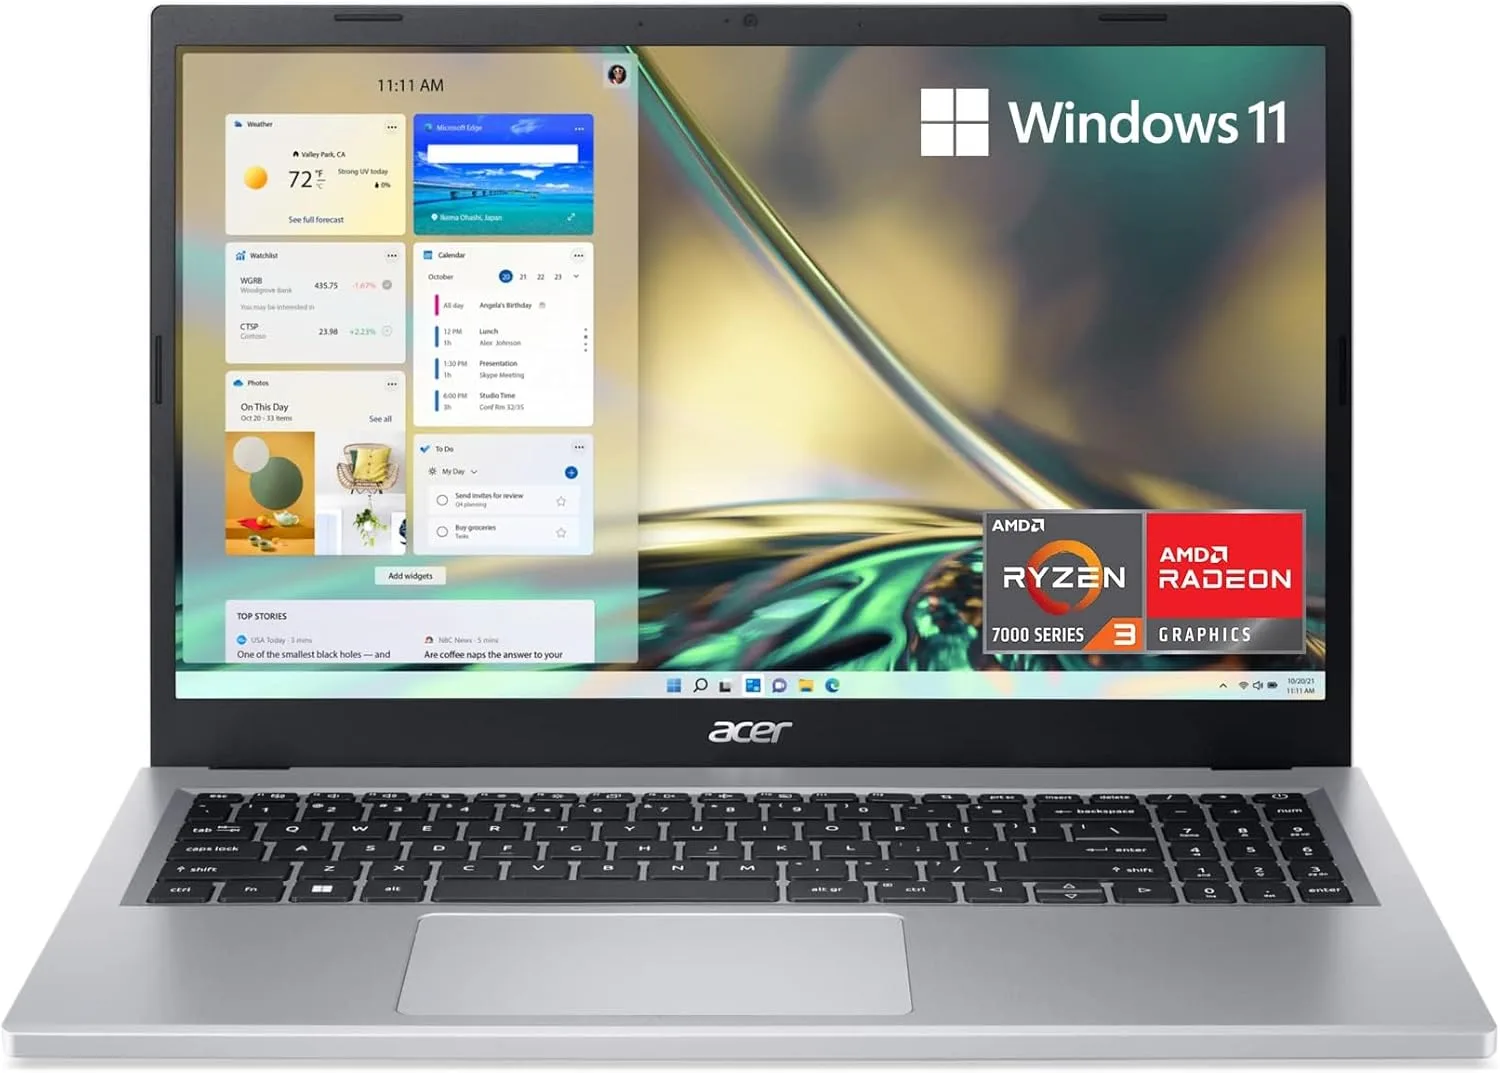
Key Features
- Processor: AMD Ryzen 3 7320U (Quad-Core, up to 4.1 GHz)
- Memory & Storage: 8GB LPDDR5 RAM and 128GB NVMe SSD
- Display: 15.6” Full HD IPS with vibrant colors and narrow bezels
- Extras: Wi-Fi 6, enhanced thermals, and Acer’s PurifiedVoice technology
- Operating System: Windows 11 Home in S Mode
Why It’s Great
- Performance-Driven: Powered by the AMD Ryzen 3 processor and 8GB of DDR5 RAM, the Aspire 3 can handle light multitasking, streaming, and basic productivity tasks without breaking a sweat.
- Vibrant Display: The Full HD IPS display offers crisp visuals and wide viewing angles, perfect for working or watching content.
- Smart Features: Enhanced thermals ensure the laptop stays cool during longer sessions, and Wi-Fi 6 provides a faster, more stable internet connection.
Pros
✅ Full HD IPS display for excellent color accuracy
✅ Strong performance for everyday tasks
✅ Lightweight design with narrow bezels
✅ Advanced thermal system for better cooling
Cons
⛔ Limited internal storage (128GB SSD)
⛔ Onboard memory isn’t upgradable
Best For
The Acer Aspire 3 is an ideal pick for casual users, students, or professionals looking for a reliable and visually pleasing laptop for daily tasks.
Buy Now
Think the Acer Aspire 3 is the one for you? Click here to view and buy it on Amazon.
Comparison Table: Top 4 Budget Laptops Under $300
To make it easier for you to compare and decide, here’s a quick overview of the key features and best uses for each laptop:
| Laptop | Processor | RAM | Storage | Display | Best For | Price |
|---|---|---|---|---|---|---|
| ASUS Vivobook Go | AMD Ryzen 3 7320U | 8GB DDR5 | 128GB SSD | Full HD (1920 x 1080) | Students & Casual Users | $275 |
| ApoloMedia 15.6” | Intel Jasper Lake N5095 | 12GB DDR4 | 512GB SSD | Full HD Thin Bezel | Professionals & Multitaskers | $276.98 |
| HP 15.6” Portable | Intel Quad-Core N200 | 16GB DDR4 | 128GB SSD | HD (1366 x 768) | Data-Intensive Tasks | $299 |
| Acer Aspire 3 | AMD Ryzen 3 7320U | 8GB DDR5 | 128GB NVMe SSD | Full HD IPS (1920 x 1080) | Everyday Tasks & Casual Users | $279.99 |
Buyer’s Guide: Key Features to Consider
| Feature | What to Look For | Best For |
|---|---|---|
| Performance | Quad-core processors (AMD Ryzen 3, Intel N200), 8GB+ RAM for smooth multitasking | Students, casual users, professionals |
| Storage | SSD for speed; 128GB is standard, 512GB+ for heavy storage needs | Professionals, creatives |
| Display Quality | Full HD (1920 x 1080) for sharp visuals; avoid HD (1366 x 768) unless other features stand out | Streaming, studying, basic tasks |
| Portability | Lightweight (3–4 pounds), slim designs, 180° hinge | On-the-go users |
| Battery Life | 6–8 hours minimum; consider a power bank for longer use | Commuters, students |
| Connectivity | USB-C, HDMI, USB-A, Wi-Fi 6, Bluetooth 5.1 for modern connections | Professionals, tech enthusiasts |
| Operating System | Windows 11 or 11 S (upgradeable to full Windows 11) | General users |
Related Tips
- Looking to enhance your workspace? Explore our guide to portable dual monitor stands for flexible setups.
- Need a quiet environment to focus? Check out budget-friendly silent keyboards that deliver peace and performance.
Conclusion: Choosing the Best Budget Laptop Under $300
Finding a reliable laptop at an affordable price doesn’t have to be overwhelming. Each of the laptops in this list brings something unique to the table, ensuring there’s an option for every type of user:
- ASUS Vivobook Go: Perfect for students and casual users who need a lightweight and dependable device.
- ApoloMedia 15.6” Laptop: A multitasking powerhouse with impressive storage and RAM for professionals.
- HP 15.6” Portable Laptop: Ideal for data-intensive tasks and users who need maximum RAM for smooth performance.
- Acer Aspire 3: A balanced choice for everyday tasks and light productivity with a stunning Full HD IPS display.
No matter which laptop you choose, these top picks prove that you don’t have to spend a fortune to get a device that’s practical, portable, and packed with features. Ready to upgrade your tech game? Check out the links above to grab your favorite before it’s gone!
Dreaming of bringing the cinema experience home? A premium 4K projector can transform your space into an immersive entertainment haven. With stunning 4K visuals, high brightness, and smart features like built-in Wi-Fi and app support, these projectors offer crystal-clear detail and vibrant colors that regular TVs just can’t match.
Investing in a high-end projector isn’t just about watching movies; it’s about experiencing them. Whether it’s binge-watching your favorite series or gaming on a massive screen, these projectors can truly elevate your setup. In this guide, we’ll cover the best 4K projectors available in India, so you can create your own luxury home theatre and take your viewing to the next level.
Let’s dive in! 🍿
Key Features to Look for in a Premium Projector
Before you splurge on a premium projector, it’s essential to know what sets the best ones apart from the standard models. Here’s a quick breakdown of the key features to look for:
1. 4K Support and Native Resolution
When it comes to picture quality, 4K resolution is a game-changer. Unlike regular projectors, which may only support 1080p, a 4K projector delivers incredibly sharp and detailed visuals. If you want that crystal-clear experience where every detail pops, opt for a model with true 4K support.
2. Brightness (Lumens Rating)
Brightness plays a huge role in how clear the visuals appear, especially in rooms that aren’t pitch dark. Look for projectors with at least 3000 lumens if you plan to use them in well-lit spaces. A higher lumens rating ensures vibrant colors and crisp details, even during the day.
3. HDR and Dolby Audio Compatibility
To get that cinematic feel, having support for HDR (High Dynamic Range) is crucial. It enhances contrast and color accuracy, making everything look more lifelike. Pair this with Dolby Audio compatibility, and you’ll get immersive sound to match those stunning visuals — perfect for movie nights or intense gaming sessions.
4. Smart Features (Android OS, Wi-Fi, Bluetooth)
Why limit yourself to just HDMI connections? Today’s high-end projectors come loaded with smart features like Android OS, built-in Wi-Fi, and Bluetooth support. This means you can stream Netflix, Prime Video, or even mirror your phone’s screen wirelessly. It’s all about convenience and cutting down on extra cables!
5. Low Input Lag for Gaming and Sports
If you’re into gaming or love watching sports, look for projectors with low input lag (ideally under 20ms). This ensures smoother gameplay and minimizes delays, so you never miss a crucial moment. Whether it’s fast-paced games or action-packed scenes, low latency makes a world of difference.
Top 5 Premium 4K Projectors in India: Detailed Reviews
Here’s a deep dive into the top premium projectors available in India. Whether you’re a movie buff, gamer, or just looking for a versatile option for home use, these models cover all bases.
1. Zebronics Pixaplay 55
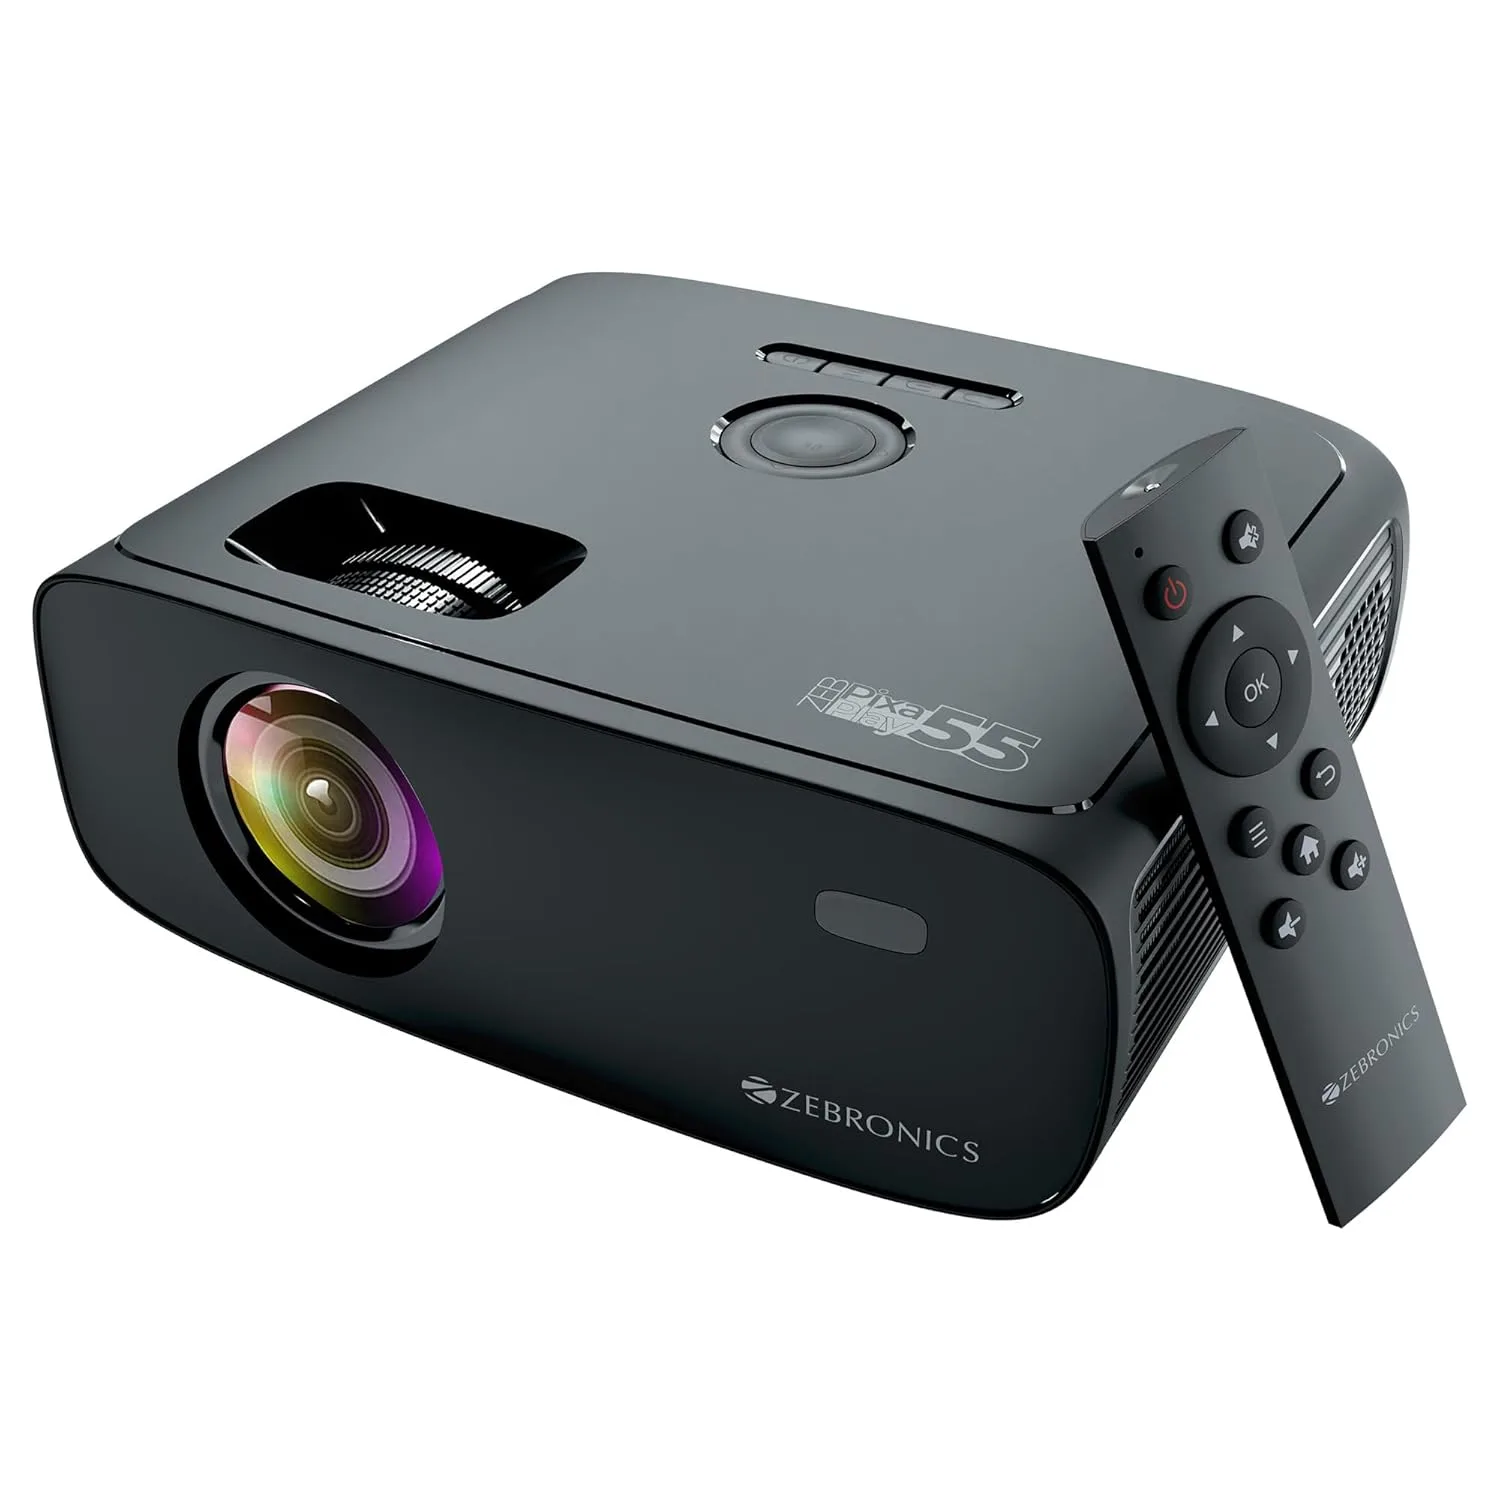
Key Features:
- 4K Support & 1080p Native Resolution: Crisp visuals with a screen size of up to 150 inches.
- Brightness: 8000 lumens for vibrant images, even in well-lit rooms.
- Smart Connectivity: Supports Wi-Fi, Bluetooth, HDMI, USB, and Miracast.
- Built-In Speaker: Enjoy decent audio without needing extra speakers.
Pros:
- High brightness levels for clear visuals.
- Wide range of connectivity options.
- Ideal for movie nights with large screen support.
Cons:
- Built-in speaker may not satisfy audiophiles.
- Average software performance.
Price Range: ₹14,999
Ideal For: Home theaters, casual streaming, and occasional gaming.
2. Zebronics Pixaplay 18
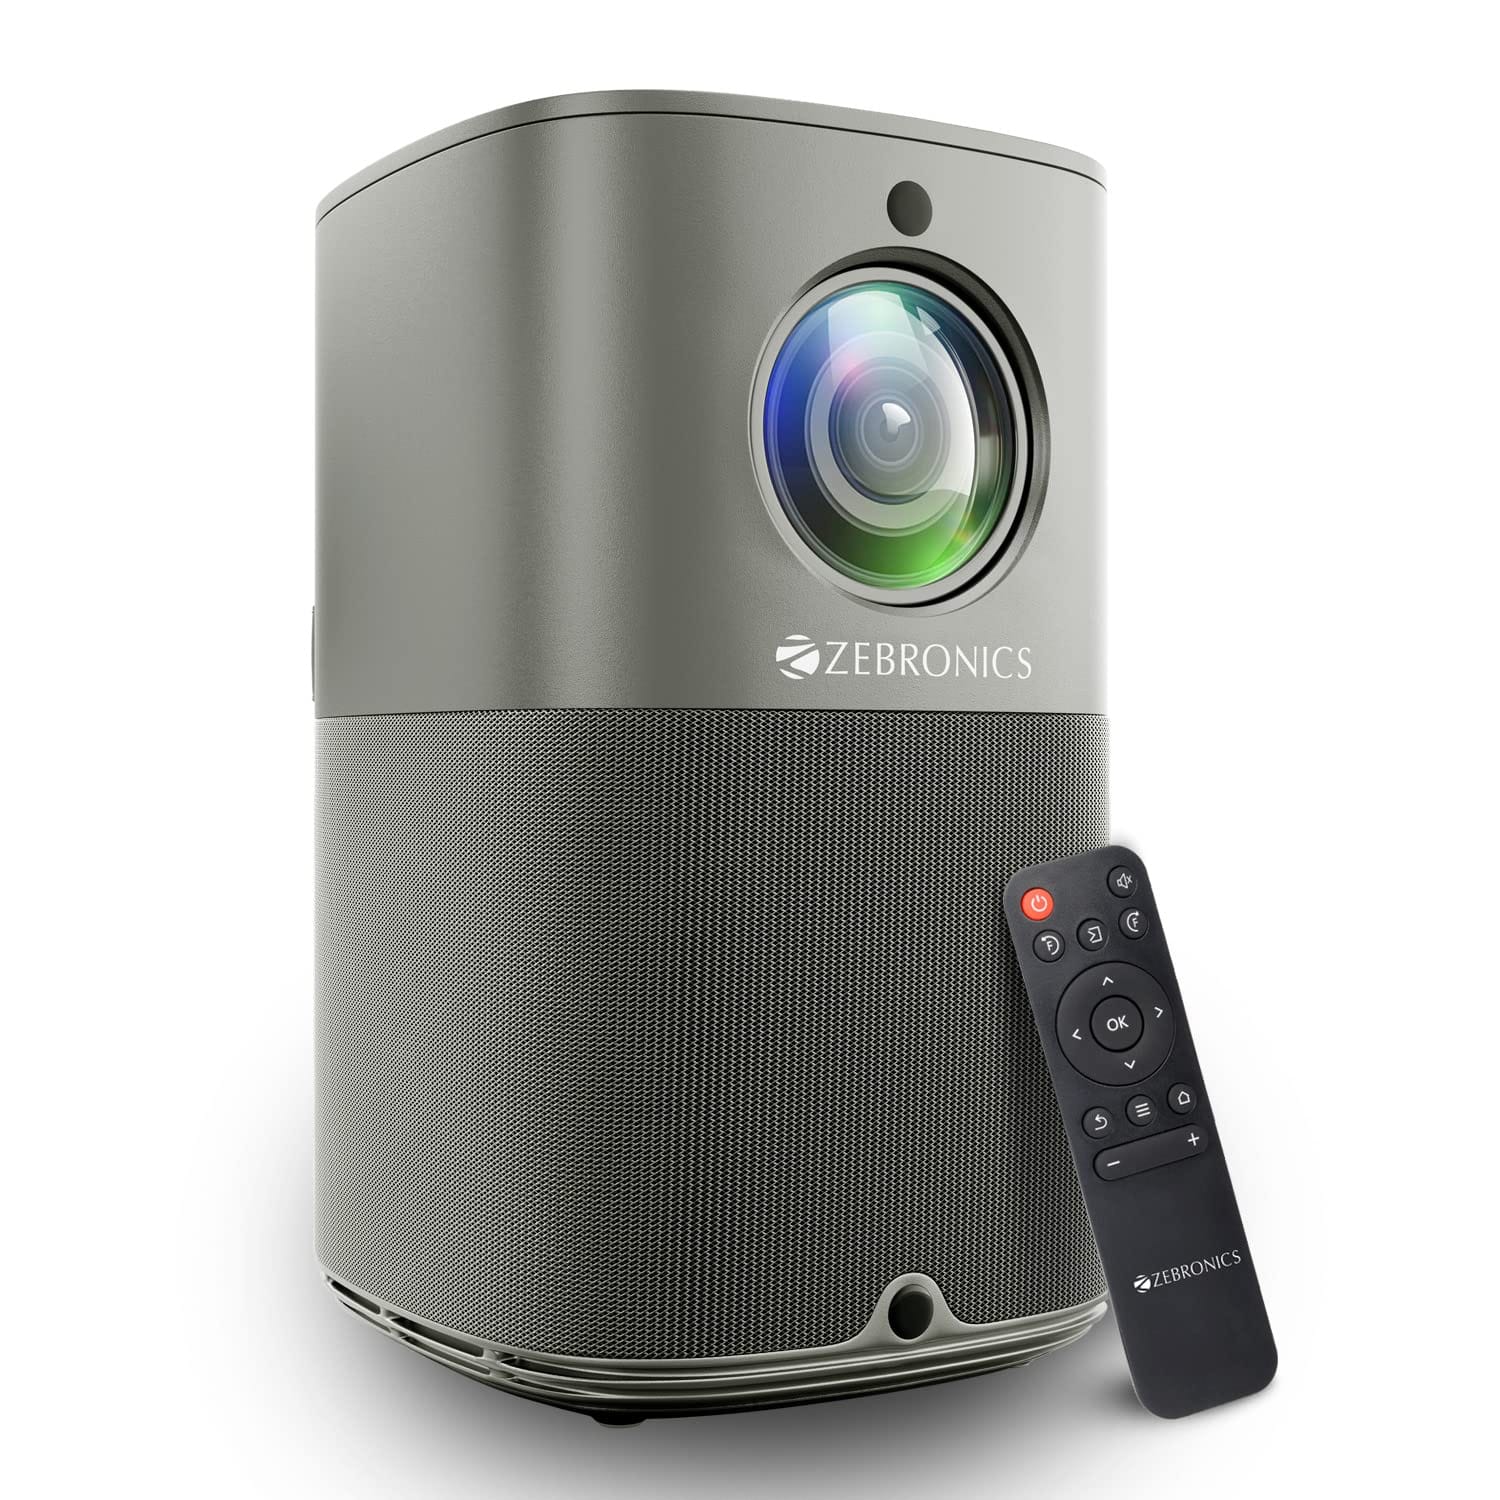
Key Features:
- 4K Support & 1080p Native Resolution: Delivers sharp, clear images on screens up to 200 inches.
- Brightness: 3800 lumens with Dolby Audio support for immersive sound.
- Smart Features: Runs on Android OS with dual-band Wi-Fi for smooth streaming.
- Electronic Focus: Convenient focus adjustments for a better viewing experience.
Pros:
- Dolby Audio ensures excellent sound quality.
- Android OS allows streaming from popular apps like Netflix and Prime Video.
- Dual-band Wi-Fi for seamless internet connectivity.
Cons:
- Higher price point for a ZEBRONICS model.
- Slightly bulkier compared to competitors.
Price Range: ₹19,999
Ideal For: Large living rooms, OTT streaming, and immersive movie nights.
3. BenQ TH575
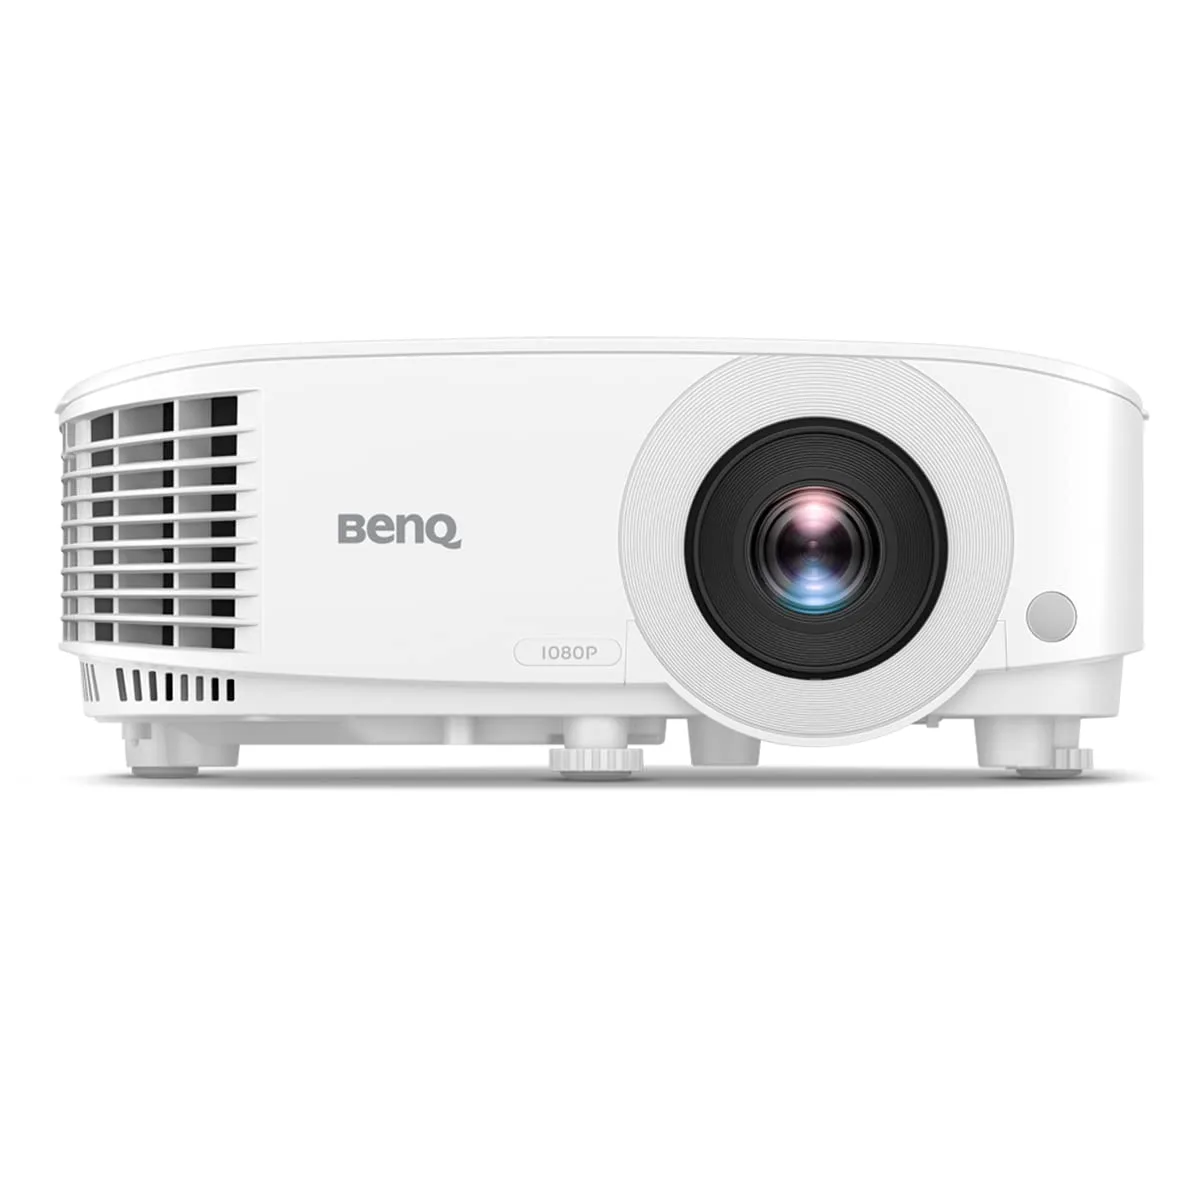
Key Features:
- Full HD with 4K Compatibility: 3800 ANSI lumens for ultra-bright visuals.
- Color Accuracy: Covers 88% REC 709 with 1.07 billion colors for true-to-life visuals.
- Low Input Lag: 16.7ms response time, perfect for gaming.
- 10W Chamber Speaker: Delivers clear, powerful sound without needing external speakers.
Pros:
- Excellent color accuracy and brightness for vivid picture quality.
- Low input lag makes it ideal for gaming.
- Durable DLP technology with minimal image degradation over time.
Cons:
- Higher price point.
- Not as compact as some portable options.
Price Range: ₹70,990
Ideal For: Gamers, home theaters, and sports enthusiasts looking for smooth, vibrant visuals.
4. Epson EB-W06
Key Features:
- WXGA Resolution: Bright visuals with 3700 lumens brightness.
- Wireless Display: Optional Wi-Fi support for hassle-free screen mirroring.
- Portable Design: Lightweight and easy to set up.
- HDMI Connectivity: Simple plug-and-play setup for laptops, gaming consoles, and streaming devices.
Pros:
- Reliable brand with excellent build quality.
- Portable design, perfect for presentations and small spaces.
- Great picture clarity for non-4K content.
Cons:
- Lacks true 4K support.
- Limited in-built smart features.
Price Range: ₹52,000
Ideal For: Office presentations, small home setups, and portable use.
5. Portronics Pico 12
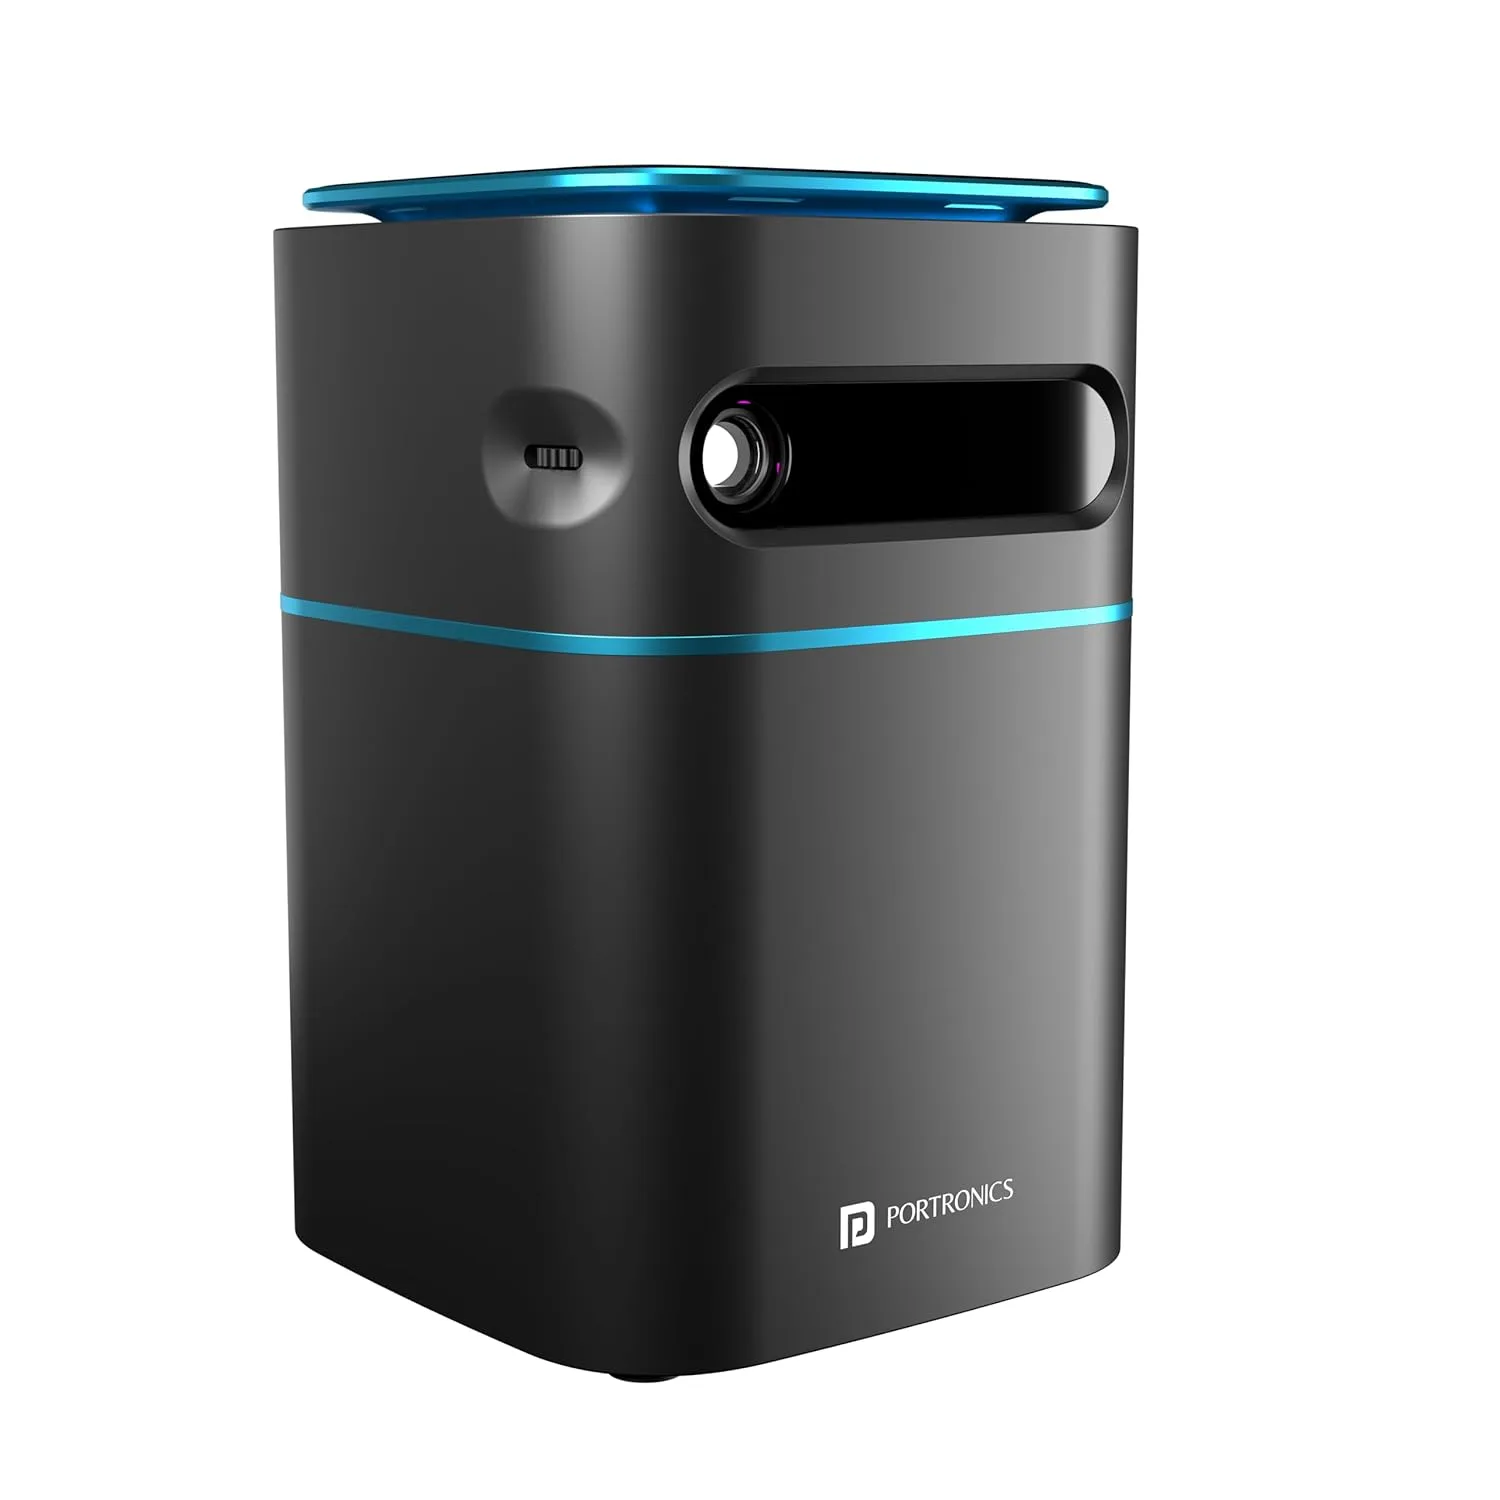
Key Features:
- Smart Android Projector: Runs on Android 11, making it easy to stream apps directly.
- DLP Technology & 3200 Lumens: Offers bright and clear visuals with up to 120 inches display.
- Portable & Rechargeable: Built-in battery for true portability; take it anywhere.
- Auto Keystoning: Adjusts the image automatically for optimal viewing.
Pros:
- Compact and lightweight, great for travel or outdoor use.
- Android OS makes it versatile for streaming on the go.
- Rechargeable battery is a plus for portability.
Cons:
- Limited resolution (854 x 480 pixels).
- Smaller display size compared to others on this list.
Price Range: ₹25,999
Ideal For: Portable entertainment, outdoor movie nights, and casual streaming.
In a glance: Comparison of Top 5 Premium 4K Projectors
| Model | Brightness (Lumens) | Resolution & Max Screen Size | Smart Features & Connectivity | Audio Quality & Special Features | Price (INR) | Amazon Link |
|---|---|---|---|---|---|---|
| ZEBRONICS PIXAPLAY 55 | 8000 | 1080p, 150 inches | Wi-Fi, Bluetooth, HDMI, USB, Miracast | Built-in Speaker | ₹14,999 | Buy Here |
| ZEBRONICS PIXAPLAY 18 | 3800 | 1080p, 200 inches | Android OS, Dual-band Wi-Fi, Bluetooth, HDMI, USB | Dolby Audio | ₹19,999 | Buy Here |
| BenQ TH575 | 3800 ANSI | 4K Compatible, 200 inches | HDMI, USB, IR | 10W Chamber Speaker, Low Input Lag (16.7ms) | ₹70,990 | Buy Here |
| Epson EB-W06 | 3700 | WXGA, 120 inches | Wi-Fi (Optional), HDMI | Portable, Wireless Display | ₹52,000 | Buy Here |
| Portronics Pico 12 | 3200 | 854 x 480, 120 inches | Android 11, Wi-Fi, Bluetooth, HDMI, USB | 5W Speaker, Auto Keystoning, Rechargeable | ₹25,999 | Buy Here |
Also Read:
- Best Wireless Keyboards: A Complete Buyer’s Guide
- GadgetsHow to Build a Home Office on a Budget: Budget-Friendly Tips
Setting Up Your Luxury Home Cinema: Tips & Tricks
So, you’ve got yourself a shiny new 4K projector — but how do you turn your living room into a true home cinema? Here are some handy tips to get the most out of your projector and create a truly immersive experience.
1. Ideal Room Conditions
To get that movie-theatre vibe, you need to control the environment:
- Darken the Room: The darker your room, the better your projector’s image will look. Consider investing in blackout curtains to block out any external light.
- Wall Color or Screen: While projecting onto a plain white wall can work, you’ll get the best results with a dedicated projector screen. If that’s not possible, consider painting your wall with a high-quality projector paint for enhanced contrast.
- Room Setup: Opt for a neutral-colored room to reduce light reflections that could wash out your screen. Also, avoid placing lights directly in the line of the projection.
2. Best Audio Setups
While many projectors come with built-in speakers, they often fall short in delivering that cinematic sound:
- Soundbars: If space is limited, a high-quality soundbar can be an easy upgrade. Look for ones with Dolby Audio support for rich sound.
- External Speakers: For a truly immersive experience, consider a 5.1 or 7.1 surround sound system. This setup envelops you in sound, making action scenes and musical scores feel more intense.
- Wireless Options: If you’re looking for flexibility, Bluetooth speakers or wireless sound systems can help reduce cable clutter while still delivering solid audio.
3. Projector Placement and Calibration
Where and how you place your projector can make or break your viewing experience:
- Distance & Alignment: Make sure your projector is placed at the correct distance from the screen (usually specified in the manual). Keystone correction and lens shift features can help adjust the image if it’s not perfectly aligned.
- Mounting: For a permanent setup, consider ceiling-mounting your projector. It saves space and keeps the projector steady. Just ensure you have enough clearance and access to power outlets.
- Calibration: Adjust the brightness, contrast, and color settings to fit your room’s lighting conditions. Some projectors have built-in presets like “Cinema Mode” or “Game Mode” to optimize performance for specific content.
- Cooling & Ventilation: Projectors can heat up quickly, so ensure there’s enough space around the unit for proper air circulation. This can help extend the lifespan of your device.
4. Bonus Tips for Enhancing Your Home Cinema Experience
- Streaming Devices: If your projector isn’t a smart one, add a streaming device like a Fire TV Stick or Chromecast to access OTT platforms easily.
- Cable Management: Keep your setup tidy by using cable organizers or hiding cables behind the wall. This helps keep your space clean and distraction-free.
- Furniture & Seating: Invest in comfy seating like a recliner or bean bags to make those movie marathons even better. Don’t forget to add cozy blankets for the full experience.
Conclusion: Choosing the Right Premium 4K Projector
Investing in a premium 4K projector can truly transform your home entertainment setup, making every movie, show, or gaming session an immersive experience. But with so many options available, it’s essential to choose the right projector that fits your needs and budget.
If you’re looking for a value-for-money option, the ZEBRONICS PIXAPLAY 55 is a solid choice with its 8000 lumens brightness and versatile connectivity options. For those seeking a slightly more advanced model with Dolby Audio and Android OS, the ZEBRONICS PIXAPLAY 18 offers excellent features for a reasonable price.
On the other hand, if you’re a serious gamer or movie enthusiast who wants top-tier performance, the BenQ TH575 is perfect with its 4K compatibility, low input lag, and superior color accuracy. For office use or portable setups, the Epson EB-W06 provides great flexibility and reliable performance. And if you’re after a compact, portable option that’s great for outdoor movie nights, the Portronics Pico 12 is a handy choice with its built-in battery and smart features.
Ultimately, the best projector for you depends on how you plan to use it, your room setup, and your budget. All the models we’ve reviewed are available on Amazon, so be sure to check them out and find the one that perfectly suits your home cinema dreams.
Ready to upgrade your home entertainment? Click on the links above to explore these projectors and make your pick! 🎥🍿
Happy viewing!
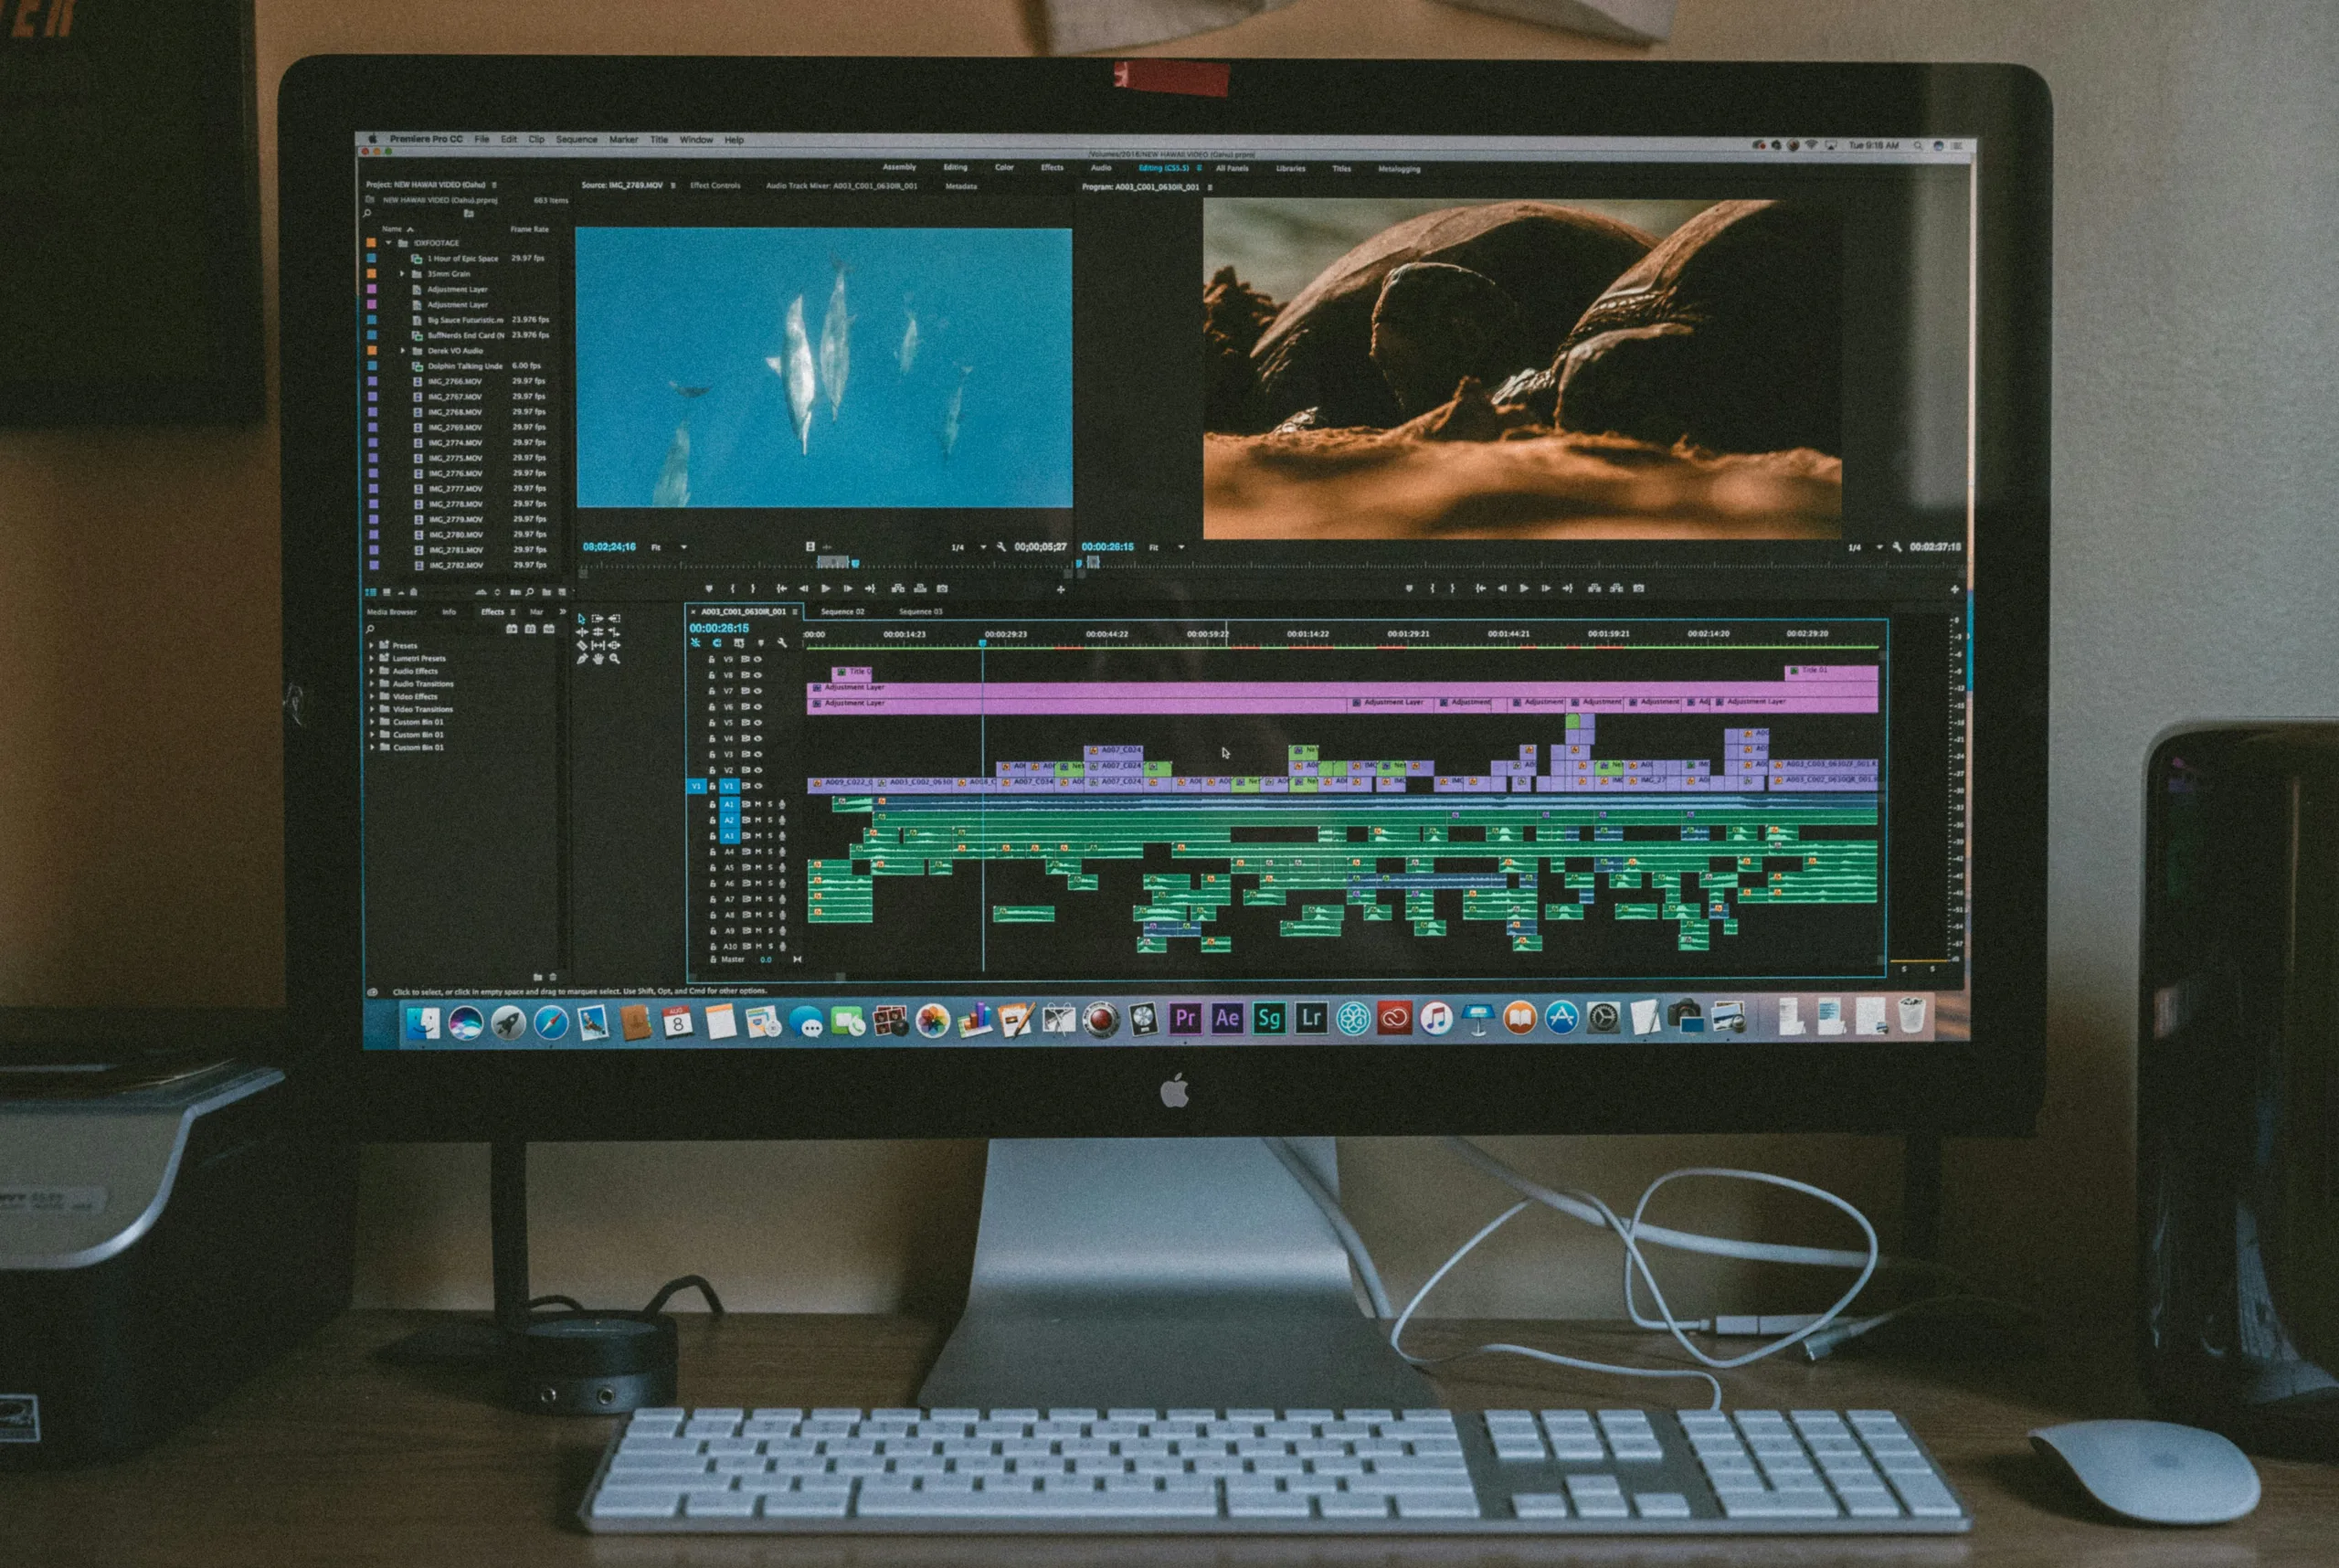
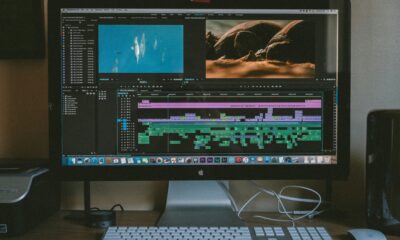
When it comes to video editing, the right monitor isn’t just a tool—it’s your creative canvas. Whether you’re color-grading a cinematic masterpiece or trimming YouTube content, having a high-quality monitor can make all the difference. A poorly chosen monitor with inaccurate colors or low resolution could throw off your entire project, leaving you second-guessing every detail. This is why finding the right display isn’t just nice to have—it’s essential.
In 2024, we’re seeing a wave of cutting-edge tech that elevates the video editing game. With 4K and 8K resolutions becoming the norm, HDR (High Dynamic Range) expanding the depth of color and contrast, and OLED panels delivering stunning blacks, this year offers more display options than ever before. The new technologies not only help you visualize every pixel with precision but also streamline your workflow, making post-production faster and more efficient.
From color accuracy—so what you see on screen matches what viewers will experience—to screen size and resolution that give you room to work with timelines and tools, the right monitor helps eliminate guesswork and ensures consistency. For professionals, this can be the difference between a satisfied client and costly rework. For beginners, it’s about having a reliable setup to grow skills and confidence without unnecessary frustration.
In this guide, we’ll break down everything you need to know about choosing the perfect monitor for your video editing needs. Whether you’re just starting out or looking to upgrade, this ultimate 2024 guide has you covered with top recommendations and expert tips to make your buying decision easier.
Key Factors to Consider When Choosing a Monitor for Video Editing
Choosing the right monitor isn’t just about getting the biggest screen you can find—it’s about understanding the specific features that matter most for video editing. Let’s break down the essential specs you should keep an eye on to ensure your monitor complements your creative work and boosts your productivity.
Color Accuracy: sRGB, AdobeRGB, and DCI-P3
Color accuracy is non-negotiable in video editing. You need to see colors exactly as they are, ensuring that what you create on-screen translates correctly across other devices.
- sRGB: Ideal for web and online video content. A monitor with 100% sRGB coverage ensures consistency in colors across digital platforms.
- AdobeRGB: This offers a wider gamut, ideal for professional editors working on high-end projects that will move between print and digital.
- DCI-P3: The gold standard for cinema and high-end production. A monitor covering 90%+ DCI-P3 is great for editors working on films, TV shows, or HDR projects.
🔑 Pro Tip: Look for a monitor that is factory-calibrated or supports manual calibration to maintain color precision over time.
Resolution: 1080p, 4K, 6K, and 8K
Higher resolution means more pixels, resulting in sharper images. For video editing, this means better clarity, especially when working on detailed projects.
- 1080p (Full HD): Sufficient for beginners, but limited when working with 4K+ footage.
- 4K (Ultra HD): The sweet spot for most video editors—sharp, detailed, and more affordable in 2024.
- 6K and 8K: Useful for professionals working on cinema-grade projects. These resolutions provide additional editing headroom, but require powerful hardware to handle the workload.
🔑 Pro Tip: Even if you’re editing in 1080p, using a 4K monitor offers better sharpness and more screen real estate for timelines and tools.
Panel Types: IPS vs. OLED
The type of panel affects how colors and contrast are displayed, which is critical for precise video editing.
- IPS (In-Plane Switching): Known for wide viewing angles and accurate colors. Most professional monitors use IPS for consistent color reproduction.
- OLED (Organic Light Emitting Diode): Delivers deeper blacks and infinite contrast, making it ideal for HDR content. However, OLED screens are more expensive and can suffer from burn-in over time.
🔑 Pro Tip: IPS panels are generally more reliable for color work, but OLEDs are unbeatable for visual quality, especially for HDR content.
Bit Depth: 8-bit vs. 10-bit
Bit depth refers to the number of colors a monitor can display. The higher the bit depth, the more shades of color you get.
- 8-bit: Displays 16.7 million colors. This is fine for most casual editing tasks but might fall short for advanced grading.
- 10-bit: Displays over a billion colors. A must-have for professionals working with HDR content and demanding color grading.
🔑 Pro Tip: If you plan to work on high-end productions or HDR content, investing in a 10-bit monitor will give you smoother gradients and avoid banding.
Refresh Rate and Response Time
While refresh rate and response time aren’t as critical for video editing as they are for gaming, they still matter, especially when working with fast-moving footage.
- Refresh Rate: 60Hz is standard for video editing, but some editors prefer higher refresh rates (120Hz or more) for smoother playback.
- Response Time: A low response time (5ms or less) ensures smooth transitions between frames, which helps avoid ghosting and motion blur.
🔑 Pro Tip: A 60Hz refresh rate will work for most projects, but higher refresh rates can enhance your experience when reviewing or scrubbing through footage.
Connectivity Options: HDMI, DisplayPort, and USB-C
Having the right ports is crucial for seamless integration with your editing setup. Here’s what to look for:
- HDMI: Widely used for external devices like cameras and video players. Ensure your monitor supports the latest HDMI standard (2.0 or higher) for 4K output.
- DisplayPort: Preferred by many video editors because it supports higher resolutions and refresh rates.
- USB-C: Becoming the new standard for fast data, video, and power delivery through a single cable. Ideal for laptops and compact setups.
🔑 Pro Tip: Look for monitors with multiple ports to easily switch between devices and avoid the hassle of adapters.
Top 5 Monitors for Professional Video Editing in 2024
Finding the perfect monitor for video editing can be a game-changer. Below, I’ve curated a list of the best monitors available in 2024, tailored to meet different needs—from budget-friendly options to premium, high-end displays.
Best Overall: Dell U3223QE Ultrasharp 31.5″ 4K UHD Monitor

Price: Rs. 63,911
Rating: ⭐ 4.5 / 5 (255 reviews)
This 31.5-inch 4K UHD monitor is an excellent all-rounder for professionals, offering IPS Black Technology for superior contrast and a built-in USB-C hub. It balances performance with versatility, making it ideal for video editors juggling multiple devices.
Pros:
- 4K resolution with 3840 x 2160 pixels for crisp visuals
- IPS Black Technology for deeper contrast and accurate colors
- USB-C Hub for streamlined connectivity
- Factory-calibrated with excellent color reproduction
Cons:
- Limited to a 60Hz refresh rate, not suitable for high-FPS workflows
This monitor offers a seamless editing experience, thanks to its USB-C hub and superb color depth, making it perfect for pro editors who need both precision and multitasking.
Best Budget Option: LG 43″ Ultrafine 4K Smart Monitor
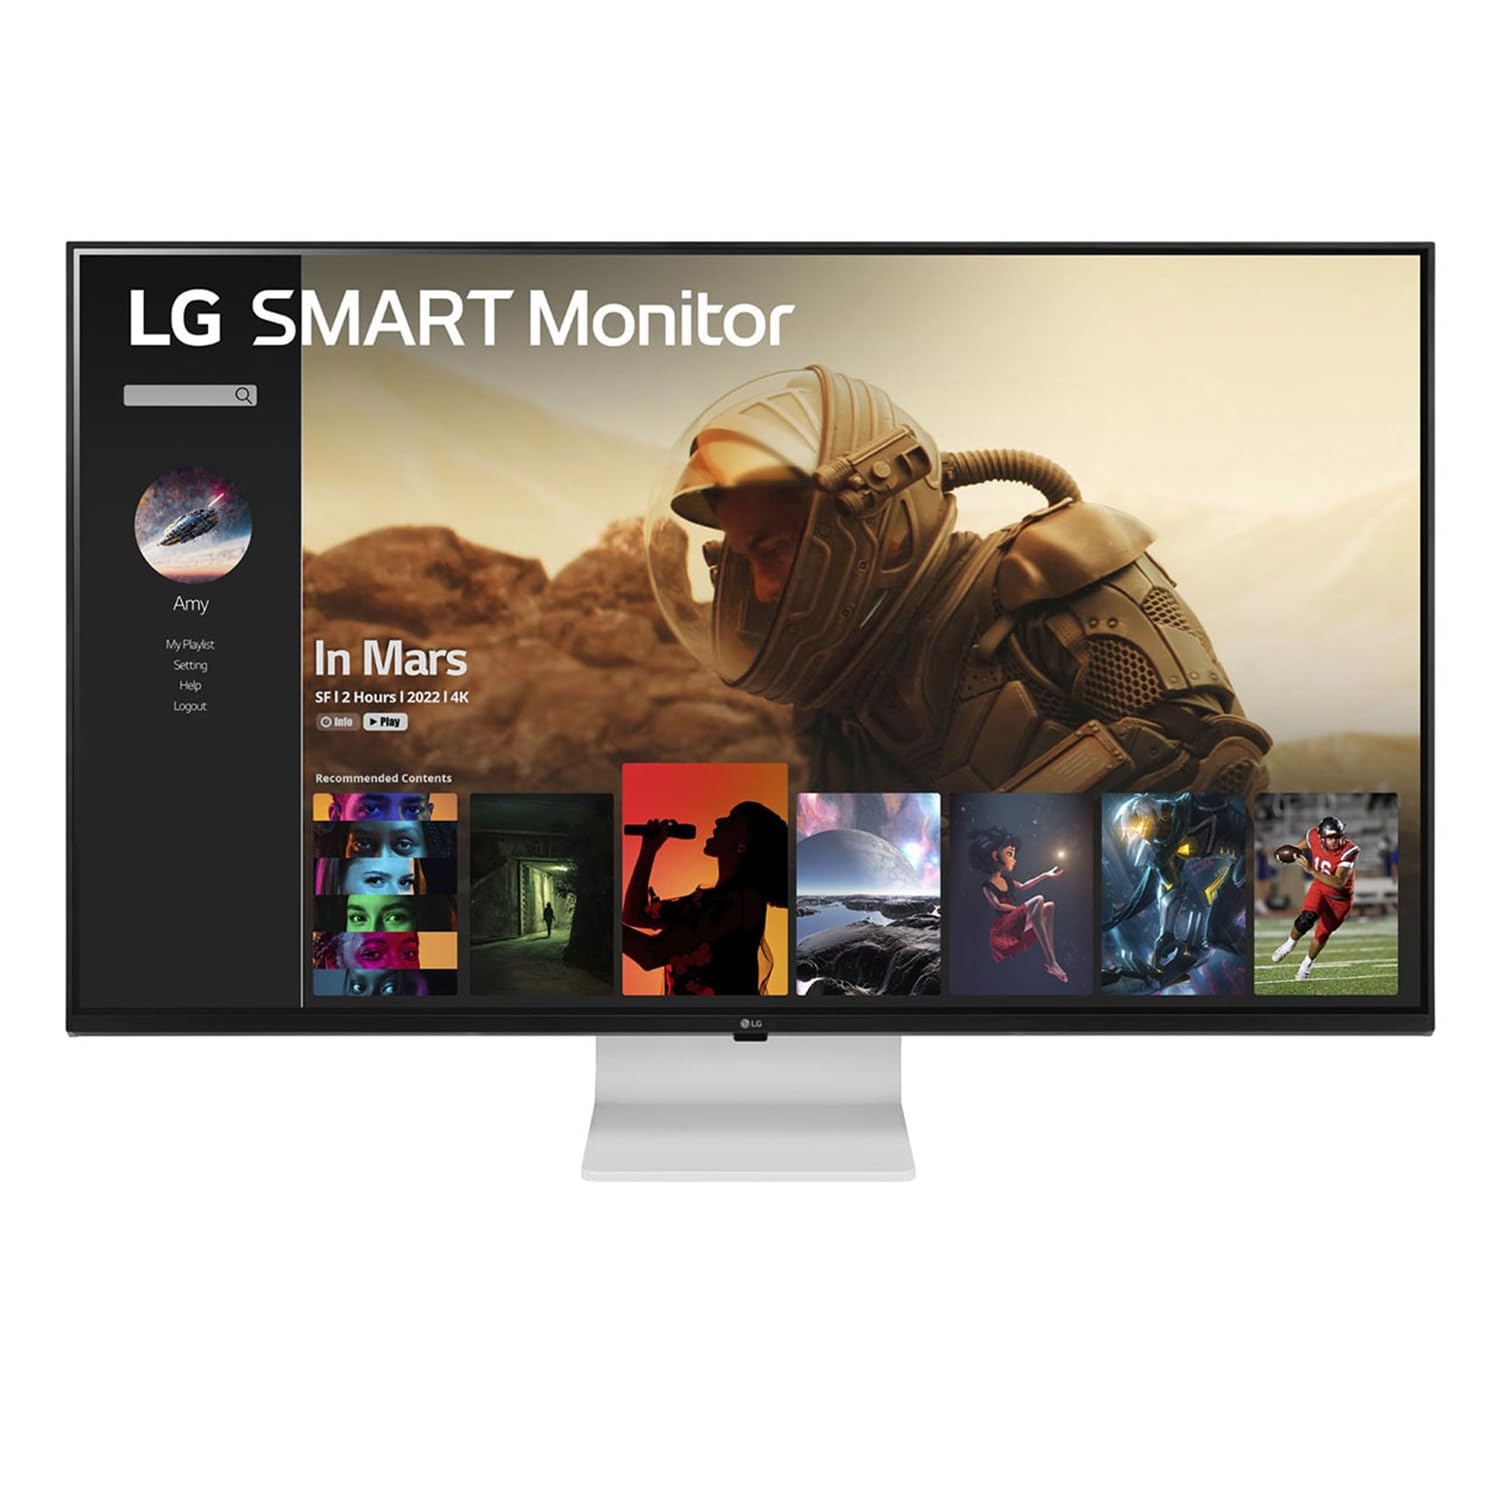
Price: Rs. 32,499
Rating: ⭐ 3.5 / 5 (106 reviews)
This 43-inch 4K UHD IPS panel offers a lot of real estate and features for its price. With smart capabilities powered by webOS, it’s a solid choice for freelancers or beginner editors who want to balance work and entertainment on the same screen.
Pros:
- Huge 43-inch screen with 4K resolution
- Built-in webOS with WiFi and AirPlay 2 for wireless convenience
- USB-C with 65W power delivery – great for laptop users
- Integrated speakers and remote control
Cons:
- Low 300 cd/m² brightness may affect performance in bright rooms
- 3.5-star rating reflects minor issues with build quality
This is a budget-friendly giant, ideal for editors who need space to manage multiple timelines but don’t want to break the bank.
Best for 4K Editing: Acer Nitro XV275K P3 27″ 4K UHD Monitor
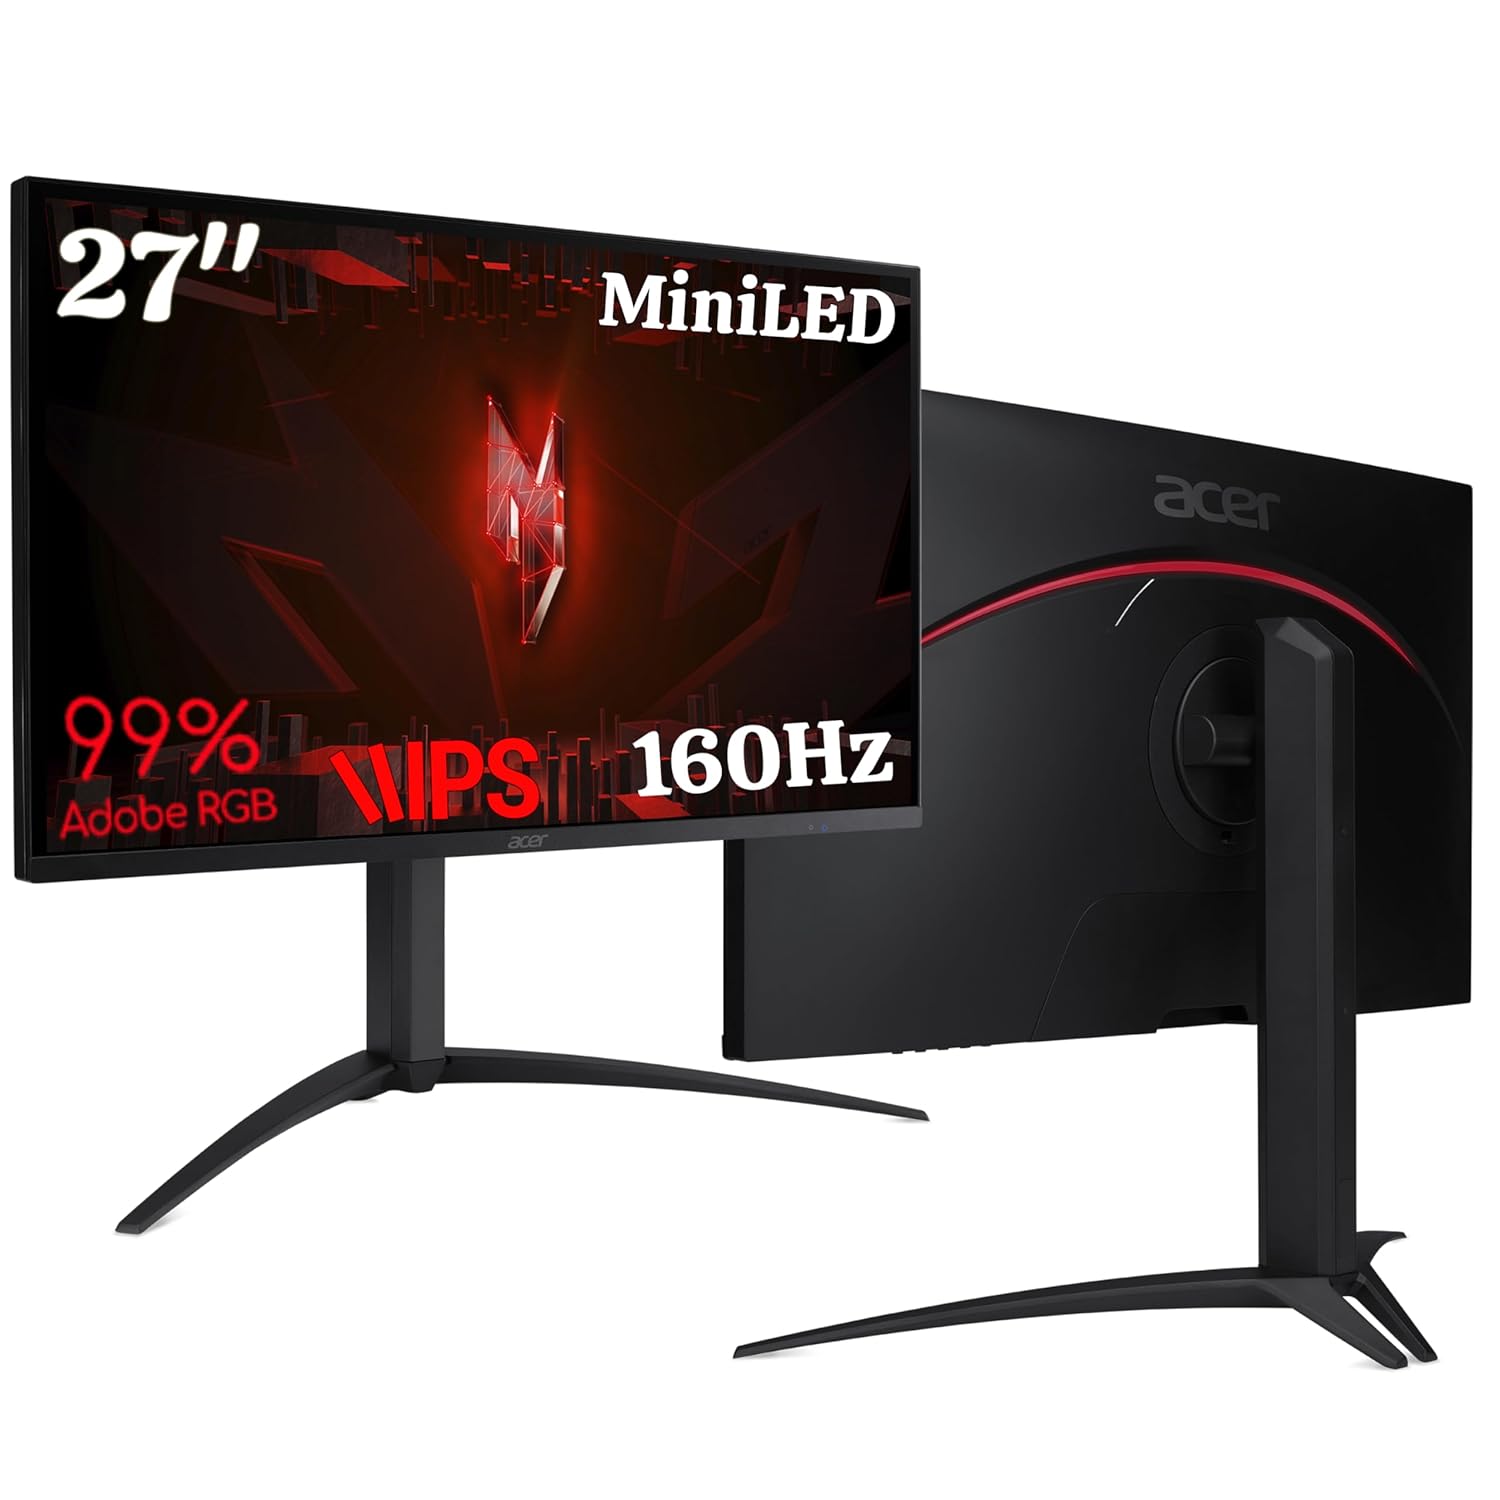
Price: Rs. 42,999
Rating: ⭐ 5.0 / 5 (2 reviews)
If you’re focused on 4K content, this Acer monitor checks all the boxes. With a 576-zone Mini LED backlight and 99% AdobeRGB coverage, it’s a dream for color grading and HDR workflows.
Pros:
- Stunning 4K UHD resolution with HDR 1000 support
- 99% AdobeRGB coverage ensures professional-level color accuracy
- 160Hz refresh rate for smooth video playback
- Multiple connectivity options: HDMI, DisplayPort, and USB-C
Cons:
- Slightly heavy at 6.7 kg
- Might be overkill for non-professional users
This is the go-to choice for 4K video editors looking for precise color reproduction and excellent HDR performance without going all-in on ultra-premium displays.
Best OLED Monitor: Alienware AW2723DF 27″ QHD Monitor
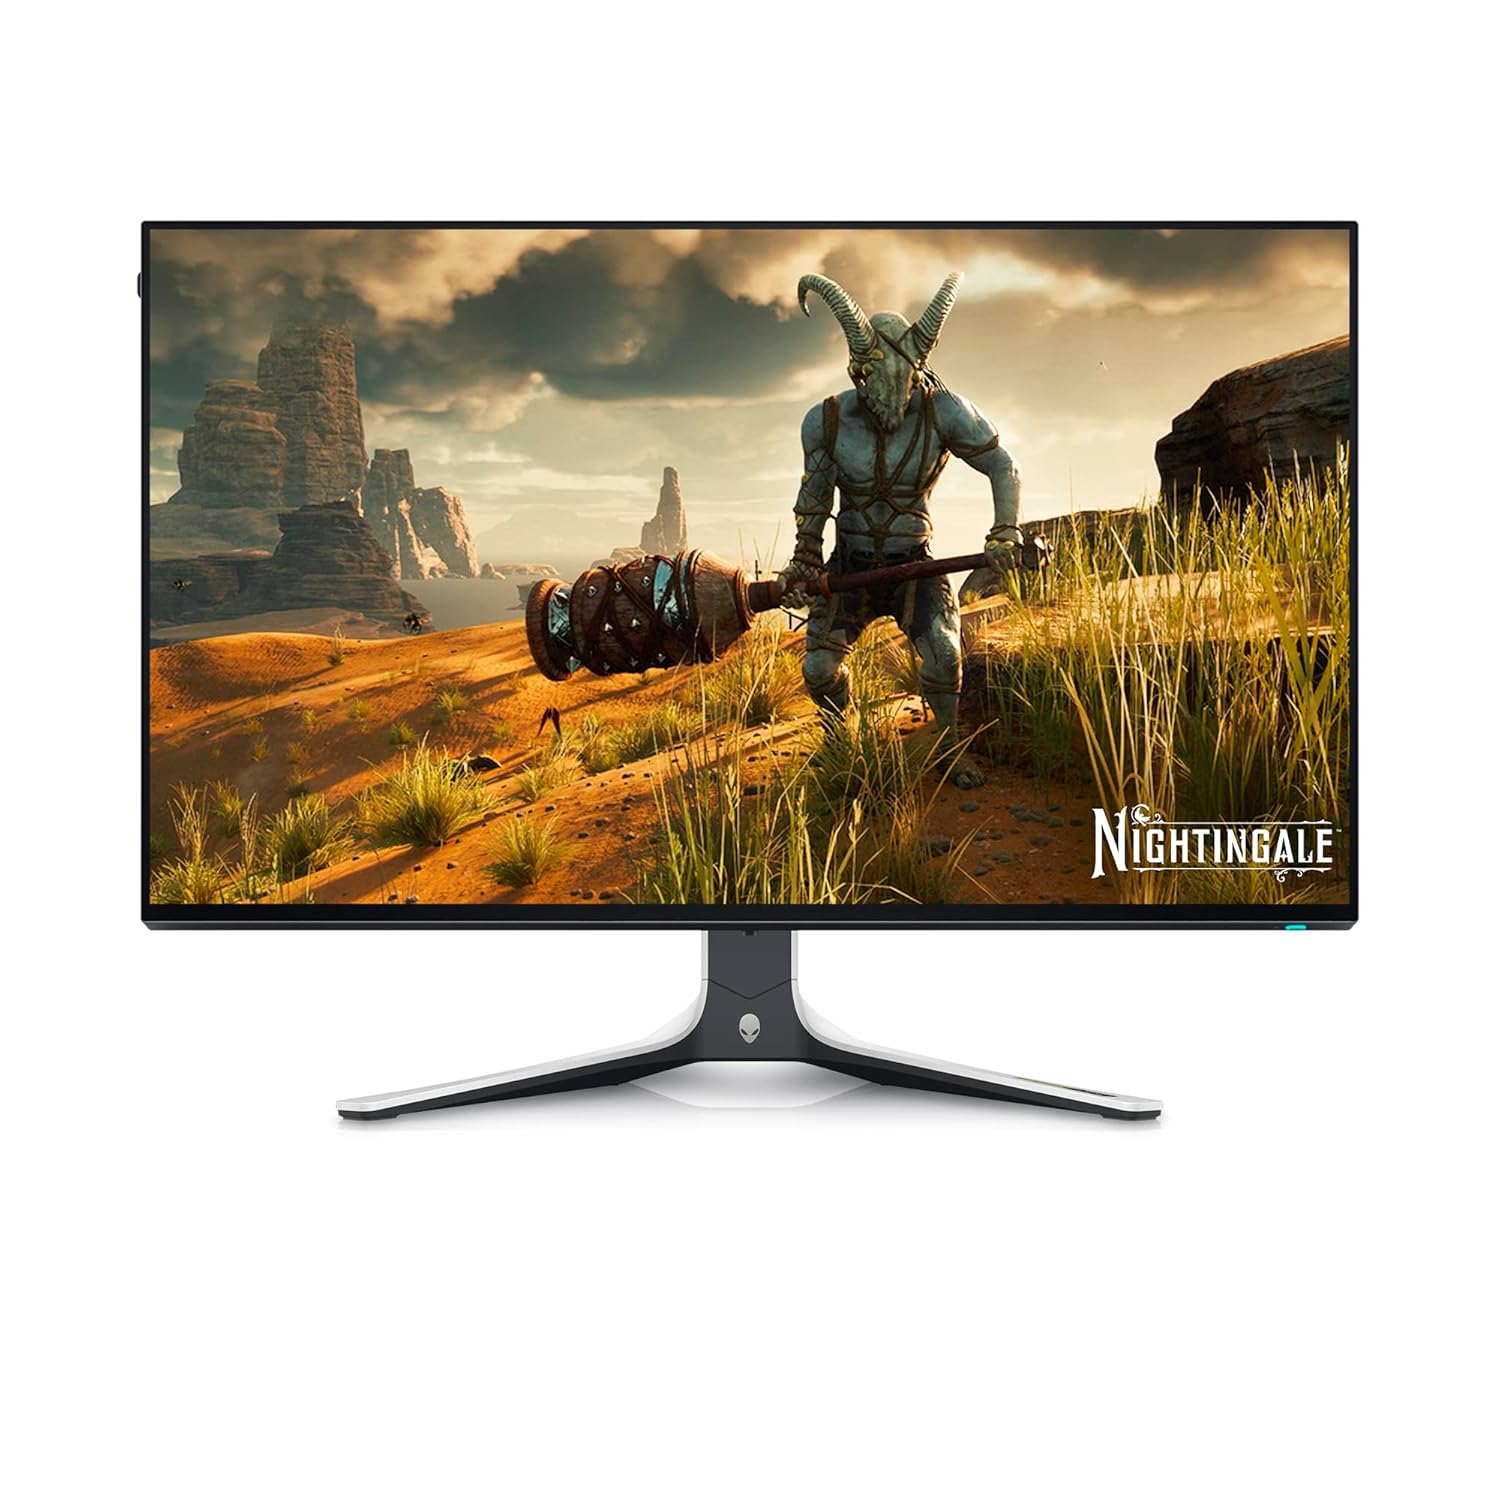
Price: Rs. 58,879
Rating: ⭐ 4.2 / 5 (206 reviews)
This 27-inch QHD monitor by Alienware features a Fast IPS panel but also embraces OLED-like deep contrast. It supports HDR content and high refresh rates, making it a versatile choice for editors handling fast-moving footage.
Pros:
- QHD resolution with HDR support
- Up to 280Hz refresh rate on DisplayPort—ideal for smooth video playback
- Multiple ports (2x HDMI, 1x DisplayPort, USB 3.2) for flexibility
- Alienware build quality and aesthetic design
Cons:
- Only QHD resolution—not 4K
- High refresh rates might be unnecessary for non-gaming editors
This monitor is perfect for editors who value smooth playback and deep blacks without needing a full 4K display.
Best Ultrawide Monitor: LG Ultragear 34″ Curved QHD Monitor

Price: Rs. 32,999
Rating: ⭐ 4.3 / 5 (523 reviews)
This 34-inch ultrawide monitor offers extra screen real estate, which is perfect for multitasking during complex edits. With a 21:9 aspect ratio, you can keep your timeline, previews, and tools open simultaneously without feeling cramped.
Pros:
- 3440 x 1440 resolution with 99% sRGB coverage
- 160Hz refresh rate and HDR10 support
- Curved design enhances immersion and reduces eye strain
- Adjustable height stand for ergonomic comfort
Cons:
- VA panel may not offer the same color consistency as IPS panels
- Takes up a lot of desk space
For editors who love multitasking and need plenty of horizontal space to manage timelines, this ultrawide monitor delivers both performance and comfort.
Final Thoughts
Choosing the right monitor for video editing depends on your specific needs. Here’s a quick recap to help you decide:
- Best Overall: Dell U3223QE for top-tier performance and color precision.
- Best Budget: LG 43″ Ultrafine for beginners and multitaskers.
- Best for 4K Editing: Acer Nitro XV275K P3 for HDR and color accuracy.
- Best OLED Monitor: Alienware AW2723DF for fast refresh rates and deep blacks.
- Best Ultrawide Monitor: LG Ultragear 34″ for multitasking and immersive editing.
Each monitor on this list offers unique advantages—whether you’re working on high-end productions, 4K YouTube videos, or just getting started. Choose the one that fits your workflow and budget, and you’ll be well on your way to producing your best work in 2024.
In a Glance: Top Monitors for Video Editing 2024
| Monitor | Resolution | Panel Type | Refresh Rate | USB-C/Ports | Price (INR) | Rating | Ideal For | Link |
|---|---|---|---|---|---|---|---|---|
| Dell U3223QE Ultrasharp 31.5″ | 3840 x 2160 (4K UHD) | IPS Black Technology | 60Hz | USB-C, HDMI, DisplayPort | 63,911 | 4.5 / 5 | Professional editors needing precision | View Product |
| LG 43″ Ultrafine Smart Monitor | 3840 x 2160 (4K UHD) | IPS | 60Hz | USB-C, HDMI, DP, WiFi | 32,499 | 3.5 / 5 | Beginner editors and multitasking | View Product |
| Acer Nitro XV275K P3 27″ | 3840 x 2160 (4K UHD) | IPS Mini LED | 160Hz | USB-C, HDMI, DP | 42,999 | 5 / 5 | 4K editing and HDR workflows | View Product |
| Alienware AW2723DF 27″ | 2560 x 1440 (QHD) | Fast IPS | 280Hz (OC) / 240Hz | USB 3.2, HDMI, DP | 58,879 | 4.2 / 5 | Fast-paced video playback and gaming | View Product |
| LG Ultragear 34″ Curved | 3440 x 1440 (QHD) | VA | 160Hz | HDMI, DP, USB | 32,999 | 4.3 / 5 | Multitasking with wide timelines | View Product |
Read Also:
- Best Cheap Curved Monitors for Streaming and Watching Movies at Home
- Best Cheap Curved Monitors for Small Desks and Compact Workspaces
- Top 9 Best Monitors for Work from Home: Affordable and Efficient Choices
Budget Monitors vs. High-End Monitors: Which One Should You Buy?
Choosing between a budget-friendly monitor and a high-end display can be tricky. Both have their place in the world of video editing, depending on your needs, experience level, and budget. In this section, we’ll break down the key trade-offs to help you make an informed choice. Whether you’re a hobbyist or a professional editor, there’s a monitor tier that fits your workflow.
When Does a Budget Monitor Do the Job?
If you’re just starting out, a budget monitor can cover the essentials without burning a hole in your wallet. Many affordable monitors offer 1080p or 4K resolution, decent color accuracy, and a good amount of screen real estate.
Pros of Budget Monitors:
- Affordable: Prices generally range between Rs. 15,000 – Rs. 35,000.
- Adequate Color Reproduction: Many budget monitors offer sRGB coverage, which is sufficient for online content creation and YouTube videos.
- Enough Features for Beginners: Features like USB-C ports or built-in speakers are often included.
- 4K at Low Cost: Some budget monitors, like the LG 43″ Ultrafine Smart Monitor (₹32,499), offer 4K resolution, making them a great entry point for high-resolution editing.
Cons of Budget Monitors:
- Limited Color Gamut: May lack support for AdobeRGB or DCI-P3, limiting precision in color grading.
- Lower Refresh Rates: Typically capped at 60Hz, which can make scrubbing through high-speed footage less smooth.
- Build Quality & Adjustability: These monitors might not come with the best stands or robust materials, affecting long-term use.
When to Choose a Budget Monitor:
If you’re a beginner, freelancer, or someone working on social media videos and personal projects, a budget monitor will do just fine. It’s also ideal if you need multiple monitors to expand your workspace without a hefty investment.
Why Go for a High-End Monitor?
High-end monitors are designed for professionals who need superior color accuracy, HDR support, and seamless performance. These monitors come with features like 10-bit color depth, HDR 1000, and calibrated AdobeRGB or DCI-P3 support, which are crucial for filmmakers and editors working on demanding projects.
Pros of High-End Monitors:
- Exceptional Color Accuracy: Monitors like the Acer Nitro XV275K P3 27″ (Rs. 42,999) cover 99% AdobeRGB, making them perfect for color-critical work.
- Advanced HDR Support: Features like HDR 1000 enhance dynamic range, which is essential for professional workflows.
- Smooth Performance: High-end displays often support higher refresh rates (120Hz+), which help when reviewing or scrubbing through timelines smoothly.
- Better Build and Adjustability: These monitors often come with ergonomic stands and premium materials, ensuring durability for long-term use.
Cons of High-End Monitors:
- Expensive: Premium monitors can cost Rs. 50,000 or more.
- Overkill for Casual Projects: If you’re not working on color-critical or professional content, the added cost may not bring meaningful benefits.
When to Choose a High-End Monitor:
If you’re a professional filmmaker, colorist, or content creator handling 4K or HDR video, a high-end monitor is worth the investment. Monitors like the Dell U3223QE Ultrasharp (Rs. 63,911) deliver unmatched precision and multitasking capabilities, making them essential tools for studio work.
Which One Should You Buy?
Ultimately, it depends on your use case and budget:
- Go for a Budget Monitor if you’re just starting or need an affordable option for general editing, YouTube videos, or personal projects. The LG 43″ Ultrafine Smart Monitor is an excellent option for multitasking with its large screen and built-in smart features.
- Invest in a High-End Monitor if you’re handling color-critical projects or working with HDR and 4K+ content. The Acer Nitro XV275K P3 offers exceptional color accuracy and HDR support for professional workflows
Conclusion: Making the Right Choice for Your Video Editing Setup
Choosing the right monitor for video editing is all about understanding your workflow, budget, and editing goals. Whether you’re a beginner editing social media content or a professional working on high-end films, there’s a monitor that fits your needs.
If you’re just starting, a budget monitor like the LG 43″ Ultrafine Smart Monitor offers an excellent blend of features without overwhelming your wallet. For those working on color-critical projects, investing in a high-end option like the Acer Nitro XV275K P3 ensures precise color reproduction and smooth performance.
The trade-offs between budget and premium monitors boil down to how important factors like color accuracy, HDR support, refresh rate, and connectivity are to your work. If you foresee growing your editing workload, it might be worth starting with a mid-tier or high-end monitor to future-proof your setup. However, if you just need something functional and affordable to learn the ropes, a budget monitor can get the job done.
In today’s work-from-home era, standing desks have become the go-to solution for people looking to improve their workspace ergonomics. Whether you’re battling back pain, trying to boost your focus, or just avoiding the dreaded post-lunch slump, standing desks offer a refreshing way to break free from the “sit-all-day” routine.
But here’s the catch: it’s not just about buying a standing desk and winging it. Setting it up the right way is super important—because trust me, if it’s not aligned to your body properly, you’ll be trading one discomfort (sitting too long) for another (neck or back strain).
The idea is to strike a balance. Research shows that alternating between sitting and standing throughout the day is where the real magic happens—it keeps your muscles engaged, improves circulation, and boosts productivity without putting too much strain on your body. But yeah, just standing for hours? Not ideal either.
So, this guide will walk you through how to set up a standing desk correctly, step-by-step, so you can enjoy all the benefits without hurting your back, neck, or wrists. Whether you’re setting it up for the first time or tweaking things to find the sweet spot, this is where you’ll start!
Step 1: Choose the Right Standing Desk for Your Needs
Before we get into the nitty-gritty of setup, the first thing you’ve gotta do is pick the right standing desk. Trust me, this is where it all begins. With so many options out there, it’s easy to get overwhelmed. The key is to understand your needs, space, and budget before making a choice. The last thing you want is to invest in a desk that either doesn’t fit your workflow or becomes a pain to adjust every day. So, let’s break down the types to help you figure out what works best for you:
1. Electric Standing Desks
These are the fancy ones. With just a press of a button, the desk adjusts to your desired height. Electric desks are perfect if you’ll be switching heights frequently, as they make transitions super easy and smooth. Plus, they usually come with memory presets—so you can store your ideal sitting and standing heights.
Good for:
- People who work long hours and need seamless height changes.
- Those with multiple users (e.g., family members sharing the desk).
2. Manual Crank Desks
Manual crank desks are budget-friendly but require a bit more effort—yep, you’ll need to crank them up or down manually. They’re sturdy, reliable, and often more affordable than electric ones. If you don’t mind putting in a little elbow grease, these are a solid choice.
Good for:
- People who won’t be changing heights too frequently.
- Budget-conscious buyers who still want a stable standing desk.
3. Desk Converters
If you’re not ready to ditch your traditional desk but want the benefits of standing, desk converters are a great solution. They sit on top of your existing desk and let you switch between sitting and standing easily. These are great if you’re working with limited space or want to test the waters before investing in a full standing desk.
Good for:
- Small spaces or existing desk setups.
- Beginners trying out standing desks for the first time.
Which One Should You Choose?
When picking the right desk, think about how often you’ll switch between sitting and standing, your budget, and space availability. If you need quick transitions, an electric desk is the way to go. On a budget or don’t mind some manual work? Go with the crank desk. And if you’re tight on space, a converter will serve you well.
At the end of the day, getting the right desk lays the foundation for a comfortable and productive setup. It’ll make everything else—like adjusting the height and ergonomics—so much easier.
Step 2: Set the Correct Desk Height
Alright, so now that you’ve got your standing desk, it’s time to get the height just right. This is where a lot of people trip up—because even a small misalignment can lead to neck pain, shoulder tension, or wrist discomfort. The sweet spot lies in making sure your body is positioned ergonomically, whether you’re sitting or standing. Here’s how to nail it:
How to Set the Perfect Standing Height
When standing, the goal is to keep your posture neutral—no slouching or craning your neck. Here’s a quick checklist to guide you:
- Elbows at 90 Degrees: Your elbows should be bent at a comfortable 90-degree angle when typing. If your desk is too high, you’ll feel your shoulders tense up. Too low? You’ll hunch forward.
- Wrists Flat and Neutral: Your wrists should remain flat—not bent up or down—while typing. This reduces strain and prevents issues like carpal tunnel syndrome.
- Screen at Eye Level: Place your monitor so the top of the screen is at eye level, about an arm’s length away. This helps avoid neck strain from constantly looking up or down.
- Feet Flat on the Floor: Stand with your feet hip-width apart, and avoid locking your knees. A footrest can be helpful if you need to shift weight throughout the day.
Pro Tip: If your shoulders feel tense while standing, chances are your desk is too high—adjust it a bit lower until your arms feel relaxed.
How to Find the Right Sitting Height
Since most people alternate between sitting and standing, it’s just as important to set the desk correctly for sitting. Here’s how:
- Elbows and Wrists in the Same Position: Like when standing, your elbows should stay at a 90-degree angle, and wrists should be flat when typing.
- Knees at 90 Degrees: Your thighs should be parallel to the ground with your knees at a right angle. Adjust your chair height or use a footrest if your feet dangle off the ground.
- Monitor at Eye Level: Just like in standing mode, your screen should remain at eye level to avoid neck strain. If needed, use a monitor riser to elevate it.
Tips for Smooth Height Adjustment
- Use Markers for Quick Adjustments: If your desk doesn’t have memory presets, mark the ideal standing and sitting heights with tape or stickers so you can adjust quickly.
- Test and Fine-Tune: Spend a day or two using your desk at different heights to find what feels best. Tiny adjustments can make a big difference!
- Consider Anti-Fatigue Mats: If standing for long periods makes your legs tired, get an anti-fatigue mat—it provides extra cushion and support.
Getting the height dialed in correctly is absolutely essential—because let’s be real, the whole point of a standing desk is to feel better, not worse. With the right adjustments, you’ll avoid tension in your shoulders, neck, and wrists and keep your focus where it belongs: on your work.
Step 3: Position the Monitor at Eye Level
Once you’ve got your desk height set, the next thing to tackle is monitor placement. Trust me, this step can make a huge difference in how comfortable you feel throughout the day. A poorly positioned screen can force you to crane your neck or tilt your head—and that’s a one-way ticket to neck and shoulder pain. Getting the monitor at just the right height ensures you maintain good posture, minimizing strain on your neck, shoulders, and eyes.
How to Position a Single Monitor
- Top of the Screen at Eye Level: The general rule is that the top edge of your monitor should align with your eye level when you’re sitting or standing upright. This way, your eyes naturally drift downwards to the center of the screen, which is the most comfortable viewing angle.
- Distance from Your Eyes: Place the monitor about an arm’s length (roughly 20-28 inches) away from your eyes. This helps reduce eye strain and ensures you’re not leaning forward to see things clearly.
- Tilt for Comfort: Adjust the monitor slightly so it tilts 10-20 degrees backward. This reduces glare and makes it easier to view the screen without strain.
How to Set Up Dual Monitors
If you’re using dual monitors (or considering getting one), proper placement becomes even more important. Here’s how to set them up:
- Equal Use? Center Both Monitors: If you switch between both screens equally, place them side by side and angle them inwards slightly so you don’t have to twist your neck to view them.
- Primary Monitor in the Center: If you have a primary monitor (the one you use most), place it directly in front of you, with the secondary monitor angled slightly to the side. This keeps your head and neck aligned for most of the day.
- Keep Both at the Same Height: Make sure both screens are at the same eye-level height to avoid tilting your head up or down when switching between them.
Also Read:
How to Find the Best Portable Dual Monitor Stands: For Setting Up Your Workspace Anywhere
Monitor Arms, Stands, and Risers
To get your monitor to the perfect height, monitor arms, risers, or stands are lifesavers. These tools give you more flexibility to adjust your screen placement and declutter your desk at the same time. Here are some recommendations:
- Monitor Arms: These are adjustable arms that let you raise, tilt, swivel, and rotate your monitor effortlessly. Perfect for people who need flexibility or use dual monitors.
- Monitor Risers: Simple, budget-friendly risers lift your monitor a few inches off the desk, providing extra storage space underneath.
- Laptop Stands: If you use a laptop as your primary screen, consider a stand that elevates it to eye level. Pair it with an external keyboard and mouse for the best ergonomics.
Final Tips for Comfortable Monitor Placement
- Adjust as Needed: Don’t hesitate to tweak the height and angle until it feels just right. It may take some trial and error.
- Reduce Glare: Position your monitor so it’s not directly facing a window or light source, which can cause glare and strain your eyes.
- Use Blue Light Filters: If you work long hours, consider a blue light filter or software to reduce eye fatigue.
With the monitor at the correct height, you’ll reduce unnecessary strain on your neck and shoulders, keeping you comfortable and focused for longer stretches. And if you’re using dual monitors, taking the time to set them up properly will pay off big time in both productivity and comfort.
Step 4: Choose a Comfortable Standing Position and Footwear
So, you’ve set your desk height and aligned your monitor like a pro—nice! Now let’s talk about how to stand comfortably. Believe it or not, standing in one spot for too long—or standing incorrectly—can make you feel more fatigued than sitting all day. But with a few tweaks to your stance and the right footwear, you’ll stay energized and pain-free.
How to Stand Comfortably at Your Desk
- Distribute Your Weight Evenly
Standing with all your weight shifted to one leg might feel natural at first, but it can lead to hip and lower back strain over time. Keep your weight evenly distributed across both feet to maintain proper alignment. - Avoid Locking Your Knees
Locking your knees puts unnecessary stress on your joints and can cause fatigue or even dizziness. Instead, keep a slight bend in your knees to encourage blood flow and prevent stiffness. - Engage Your Core Muscles
Standing isn’t just about your legs—engaging your core muscles helps you maintain a good posture and avoid slouching. Think of it like a gentle tightening of your abs, just enough to support your lower back. - Shift Your Weight Regularly
Our bodies aren’t meant to stand still for long periods. Try shifting your weight from side to side or placing one foot on a small footrest or box to alternate pressure. This keeps you comfortable and reduces fatigue.
Supportive Footwear Makes a Difference
If you’re standing for long periods, what’s on your feet really matters. Flat, unsupportive shoes (or standing barefoot) can lead to sore feet and back pain, so make sure you’ve got comfortable, cushioned footwear.
- Choose Supportive Shoes: Look for shoes with arch support and cushioning to keep your feet happy. If you prefer being barefoot or in slippers at home, consider orthotic inserts for extra support.
- Switch It Up: Alternate between different pairs of supportive shoes throughout the week to reduce stress on your feet.
Anti-Fatigue Mats: A Game-Changer
One of the easiest ways to stay comfortable while standing is by using an anti-fatigue mat. These mats provide a cushioned surface that reduces pressure on your feet and legs, keeping you more comfortable for longer periods. They also encourage small, subtle movements, which improves circulation.
- Flat Anti-Fatigue Mats: Great for basic standing comfort. These are ideal for those who prefer minimal movement.
- Active Anti-Fatigue Mats: Some mats are designed to promote micro-movements, keeping you active while you stand. They come with textured surfaces or raised edges to encourage weight shifting.
Tips for Staying Comfortable
- Alternate Between Sitting and Standing: Standing all day isn’t the goal—switch positions every 30-60 minutes to avoid fatigue.
- Stretch Regularly: Take quick stretch breaks throughout the day to loosen up your legs, back, and shoulders.
- Use a Footrest: Resting one foot on a raised surface every now and then can relieve pressure on your lower back.
Step 5: Organize Your Desk for Efficiency
Now that you’ve got your standing desk properly adjusted, it’s time to set up your workspace for peak productivity. A cluttered desk can slow you down and lead to frustration, while a well-organized desk makes everything feel smoother and more efficient. Let’s dive into some simple tips to keep your desk neat, functional, and aesthetically pleasing.
Keep Essentials Within Arm’s Reach
The things you use the most—like your phone, notebook, water bottle, or pens—should be easily accessible. Position these frequently-used items in the “primary zone” of your desk, meaning within an arm’s length. This saves time and prevents unnecessary stretching or bending, especially when you’re focused.
Pro Tip: Use desk trays or small organizers to keep items like pens, sticky notes, and chargers tidy and in place.
Master Cable Management
Let’s be real: nothing kills productivity faster than tangled cables. Proper cable management not only keeps your workspace looking sleek but also prevents tripping over cords or wasting time untangling wires.
- Cable Clips & Sleeves: Use clips or sleeves to bundle cables together and keep them out of sight.
- Cable Trays: Mount a cable tray under your desk to keep power strips and cables neatly tucked away.
- Wireless Accessories: Consider wireless keyboards and mice to reduce the number of cables running across your desk.
Position Your Task Lighting
Good lighting makes a world of difference, especially during those late work sessions. Position a desk lamp or task light so it illuminates your workspace without causing glare on your screen. Adjustable lamps give you flexibility to change the angle and brightness as needed.
Bonus Tip: Opt for LED lamps with adjustable color temperatures—warmer light for evening and cooler light for daytime focus.
Also Read:
Declutter Regularly
Clutter tends to build up quickly, especially when working long hours. Make it a habit to declutter your desk at the end of each day—toss out unnecessary papers, close notebooks, and put things back in their designated place. This way, you’ll start every day with a clean, stress-free space.
Use Vertical Space to Your Advantage
If your desk feels cramped, look beyond the surface and go vertical. Use shelves, wall-mounted organizers, or monitor arms to create more space. Monitor arms, in particular, lift your screens off the desk, leaving more room for notebooks, planners, or a cozy coffee corner!
Add Personal Touches
Lastly, don’t forget to make the space your own! Adding personal elements like photos, plants, or motivational quotes can make your workspace feel more inspiring. Small desk plants are also great for reducing stress and improving air quality—win-win!
A Clean Desk = A Clear Mind
An organized desk isn’t just about aesthetics—it boosts productivity, reduces frustration, and helps you focus better. With everything in its place and your cables under control, you’ll spend less time searching for things and more time getting things done. Plus, the little touches like plants and good lighting? They’ll make your workspace a place you actually enjoy spending time in!
Conclusion: Enjoy Your New Workspace
Congratulations! 🎉 You’ve got everything you need to set up your standing desk correctly—from choosing the right desk to perfecting the height, positioning your monitor, and organizing your workspace like a pro. Now it’s time to enjoy your new setup and make it work for you. Remember, the beauty of a standing desk lies in its flexibility, so don’t be afraid to experiment and tweak things until they feel just right.
Final Tips for Standing Desk Beginners
- Ease Into It: Don’t try to stand all day right off the bat. Start with 30-60 minutes of standing at a time and gradually increase as your body adjusts.
- Listen to Your Body: If you feel discomfort, it’s a sign to tweak your setup—whether it’s adjusting the desk height, monitor placement, or adding a footrest.
- Alternate Often: The secret to standing desk success is switching between sitting and standing throughout the day. Aim to change positions every 30-60 minutes.
- Stay Active: Incorporate small movements like shifting your weight, stretching, or walking around to keep your body comfortable.
- Invest in Comfort: Accessories like anti-fatigue mats, supportive shoes, and cable organizers make a big difference in creating a comfortable, clutter-free workspace.
Create a Workspace You Love
Setting up a standing desk is just the beginning of your ergonomic journey. The key is to make small adjustments along the way that fit your work habits and lifestyle. When your workspace feels comfortable and efficient, you’ll naturally feel more productive and motivated—whether it’s tackling emails, brainstorming your next project, or powering through long video calls.

[Samsung Q60T REVIEW 2025] Top 5 Features That Make It Stand Out

Affordable Tech: Top 4 Budget Laptops of 2024 Under $300

6 Budget-Friendly Silent Keyboards Under $50 That Deliver Peace and Performance

Premium 4K Projectors in India: Top Choices for a Luxury Home Cinema Experience

Top 6 Pomodoro Timer Apps for iPhone: Boost Productivity on the Go

GanttPRO Review: Does It Boost Productivity?

How to Choose the Best Monitors for Video Editing: The Ultimate Guide 2024

How to Choose a Gaming Monitor: Key Features to Look for in 2025

Best Wireless Keyboards for Graphic Designers: A Complete Buyer’s Guide

How to Set Up a Standing Desk Correctly: Step-by-Step Guide for Beginners
-

 Best Of9 months ago
Best Keyboards Under ₹1000 for Work, Study and General Use
-

 Best Of9 months ago
Affordable HP Wireless Mice Under ₹2000: Best Picks for General Use
-

 Best Of8 months ago
Top 5 Sony Portable Bluetooth Speakers for 2024: Best Picks for Every Occasion
-
 Best Of7 months ago
Best Wireless Keyboards for Graphic Designers: A Complete Buyer’s Guide
-

 Best Of9 months ago
Best Cheap Curved Monitors for Streaming and Watching Movies at Home
-

 Best Of9 months ago
Top 9 Best Monitors for Work from Home: Affordable and Efficient Choices
-

 Choose Work Tools8 months ago
HP DeskJet 2723 Review: Affordable All-in-One Printer for Home Use
-

 Best Of8 months ago
Top 5 Affordable Standing Desks Under 40,000 INR: Budget-Friendly Options for Home Offices
-
 Best Of6 months ago
6 Budget-Friendly Silent Keyboards Under $50 That Deliver Peace and Performance
-

 Best Of9 months ago
Best Cheap Curved Monitors for Small Desks and Compact Workspaces